Shopping Cart




Citroen Jumpy 2007+ Interior Trim Kit, 12 pcs
3 Reviews
CIJX-07-12
€79.99
Tax included Manufacturing time 2-7 business days
Vehicle-specific decorative overlay kit for the existing interior surfaces of your Citroen Jumpy. Choose the finish and verify the parts diagram before ordering.
| Make | Citroen |
|---|---|
| Model | Jumpy |
| Model years | 2007-present |
| Product type | 3D dashboard trim kit |
| Parts included | 12 |
| Product reference | CIJX-07-12 / Original Reference: 1281 |
| How to check your version | Before ordering, check on your vehicle and compare with the parts diagram: radio / NAVI unit, transmission, climate control. Steering wheel position (LHD/RHD): select it in the option below. |
CockpitDekor · vehicle-specific dashboard trim
Citroen Jumpy dashboard trim kit, 12 pieces (from 2007)
A set of 12 self-adhesive trim pieces cut to the dashboard of the Citroen Jumpy, model years from 2007. The pieces go on top of your original panels – nothing is removed or drilled.
All kits for Citroën Jumpy-Despatch · Citroën dashboard trim kits
- VehicleCitroen Jumpy
- Yearsfrom 2007
- Pieces12
- ReferenceCIJX-07-12
- FinishHigh-gloss as shipped · matte with 1 coat of clear matt spray before fitting
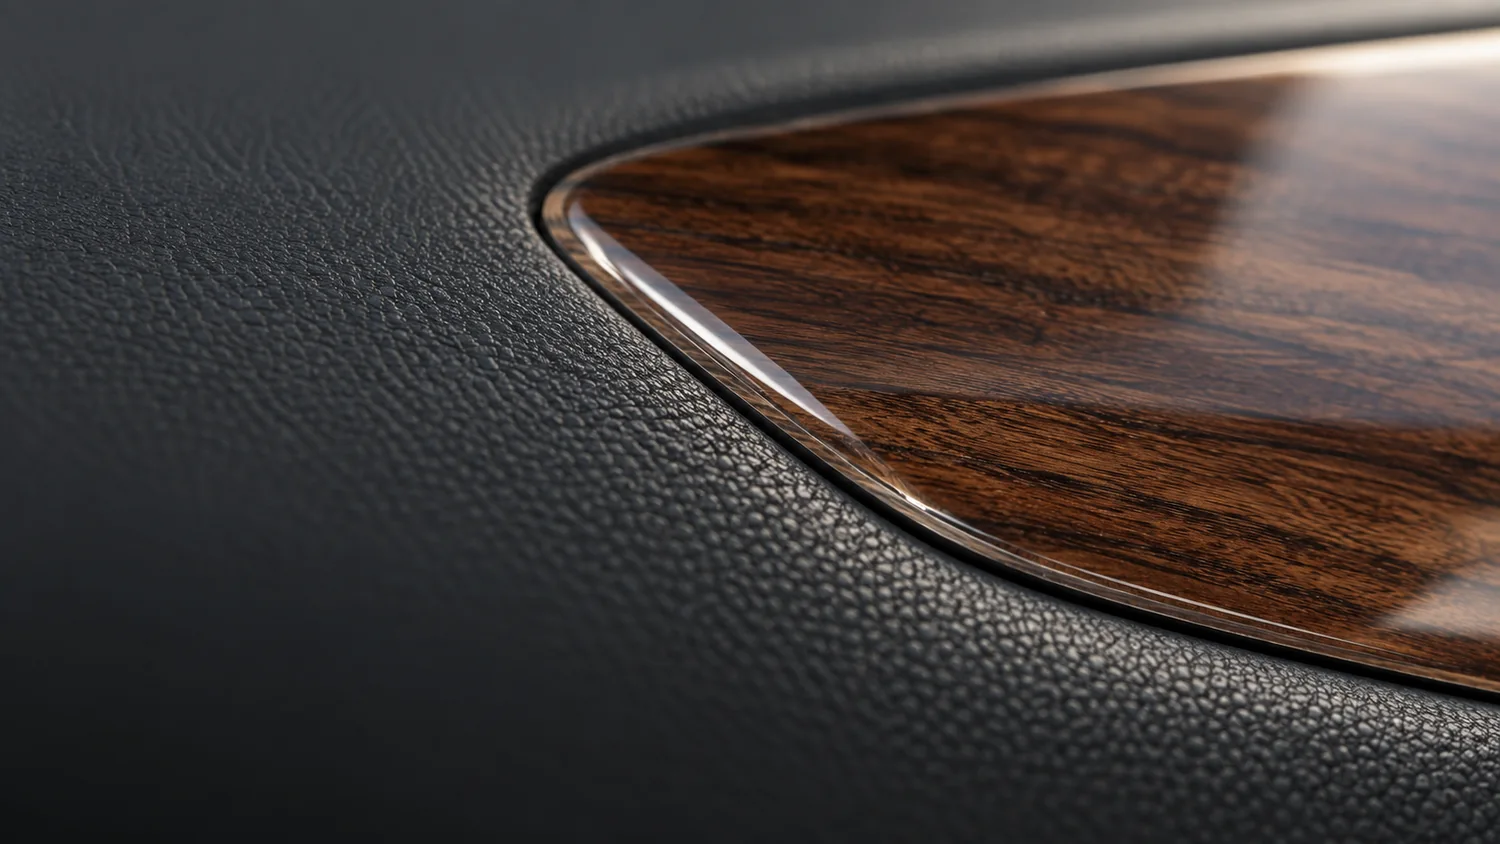
Material: depth you can see
Each piece is about 2–3 mm thick: a decorative layer under a clear, glossy coat of Italian ColorDec polyurethane with softly rounded edges, and a 3M adhesive layer on the back.
Wood and carbon looks are decorative surfaces – not real wood veneer and not structural carbon fibre.
Choose the finish
Wood grains, carbon weaves, brushed aluminium, piano black or a plain colour: every finish available for this kit is shown as a swatch in the selector above, so you see the surface before you order.
Each kit is made to order in the finish you select.
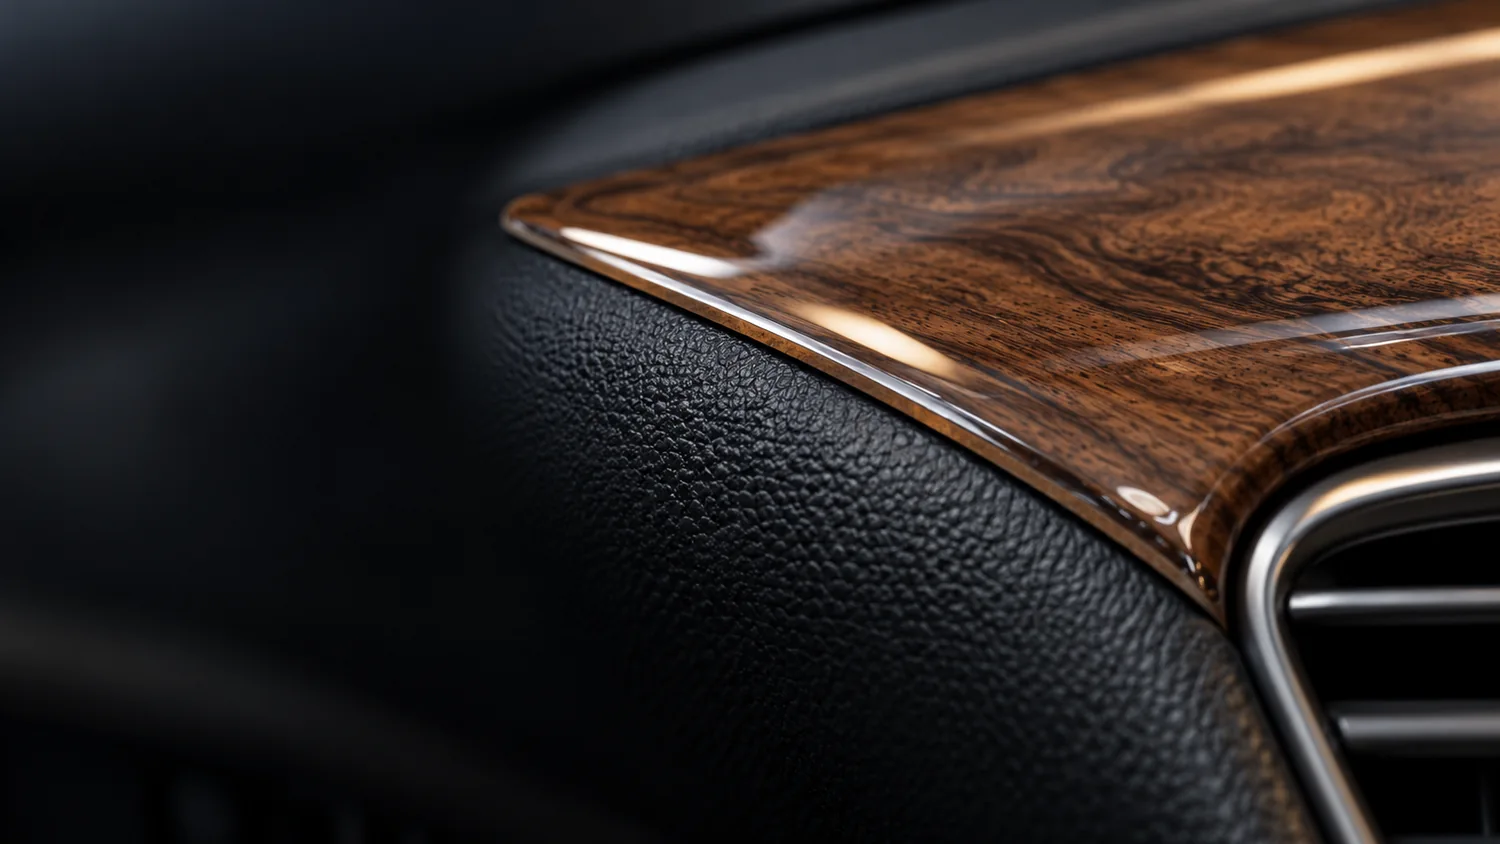
Check the fit before ordering
- Compare the parts diagram with your own dashboard: radio / navigation unit, gearbox (manual or automatic) and climate controls must match this version.
- Steering wheel side (LHD/RHD): choose it in the option below.
- Only the parts drawn on the diagram are included; mood photos do not define the contents.
Fitting and care
Clean and degrease the surface, dry-fit every piece first, then peel and press firmly. No tools are included; a detailing or wrap specialist can fit complex shapes for you.
Clean with a soft, slightly damp cloth – no abrasives or strong solvents.
Factory grey out, your style in
The parts for Citroën Jumpy-Despatch are pre-cut to the parts diagram, shaped like the original trim. Vans come in a lot of versions, so compare the diagram with your cab and check the year, the radio, the climate control and the gearbox. Choose the driving side at checkout and send a photo if anything is unclear.
- Made to order in our own workshop
- Left-hand or right-hand drive, chosen at checkout
- Over 40 finishes depending on the kit
Browse the finishes for this kit and link the cab to the rest of your build.
Preparing a van that has worked hard
- Clean and degrease the dashboard thoroughly, especially if the van has spent years on building sites.
- Let it dry fully and fit under cover, with good light.
- For a large kit or a new van, book a detailing professional.
FAQ
Is the kit available in matte?
The kit ships high-gloss. For a satin or matte look, spray one thin coat of clear matt aerosol lacquer for cars on the parts before fitting (for example SprayMax Klarlack matt or NOVOL Clearcoat Matt), let it dry, then fit as usual. One coat takes the gloss off; a second gives a flatter but slightly hazy look. Try a small part first. We don’t ship aerosols; you’ll find them in car accessory shops.
Do I need to remove the dashboard?
No. The pieces are stuck onto the existing panels.
Will it fit my Citroen Jumpy?
Yes, if your dashboard matches the parts diagram and the version shown above. If in doubt, send us a photo.
Is the wood look real wood?
No – it is a printed decor under clear polyurethane.
Not sure which version you have? Send a photo of your dashboard and the reference via the contact form – we check it before we make your kit.
Buyer guide · Material guide · Installation guide
CockpitDekor · made to order since 1998
5483230005857
The kit is fitted over the existing surfaces – no dismantling of the dashboard.
- Clean and degrease every surface; silicone and interior sprays stop the adhesive from holding.
- Dry-fit each part against the parts diagram before removing the backing film.
- In a cold car, warm the parts and the dashboard slightly first.
- Press each part firmly from the centre to the edges.
- Avoid washing or stressing the edges for 24–72 hours.
Every kit is made in your choice of finish, protected by a high-gloss 3D polyurethane layer.
- Wood (burl, walnut, maple): warm, classic, premium look.
- Carbon fibre: sporty and technical.
- Brushed aluminium: cool, modern, close to OEM.
- Piano black and solid colours: clean or personalised.
- The finish changes the look only – always check the version of your dashboard first.
A kit is made for one exact dashboard layout. Before ordering, check:
- make, model, production year and generation (before or after facelift);
- manual or automatic gearbox;
- manual or automatic climate control, radio / NAVI unit;
- the parts diagram and number of parts in the product photos;
- steering wheel position: select it in the option above the finishes.
3 Reviews
Montaggio a freddo con pazienza
Con il freddo il montaggio richiede più pazienza. Ho provato il pezzo a secco più volte, controllato bene la linea del cruscotto e solo dopo ho tolto la pellicola posteriore e premuto dal centro verso i bordi.
Sterke afwerking voor het dashboard
De onderdelen pasten goed rond de console en ventilatieroosters. De afwerking ziet er professioneel uit. Montage zonder boren ging gemakkelijk met rustig uitlijnen.
Montaggio a freddo con pazienza
Con il freddo il montaggio richiede più pazienza. Ho provato il pezzo a secco più volte, controllato bene la linea del cruscotto e solo dopo ho tolto la pellicola posteriore e premuto dal centro verso i bordi.
Tap to zoom
