Shopping Cart
Dashboard Trim Kit Installation Guide
Installation Guides
Learn how to install a vehicle-specific dashboard trim kit without removing interior parts, how to clean the dashboard before applying 3M adhesive trim, how long installation usually takes, and how to remove old adhesive safely before fitting a new kit.
This guide is suitable for most self-adhesive interior dashboard trim kits, including high-gloss wood veneer, carbon fibre, brushed aluminium, piano black and other decorative finishes supplied with automotive adhesive backing.
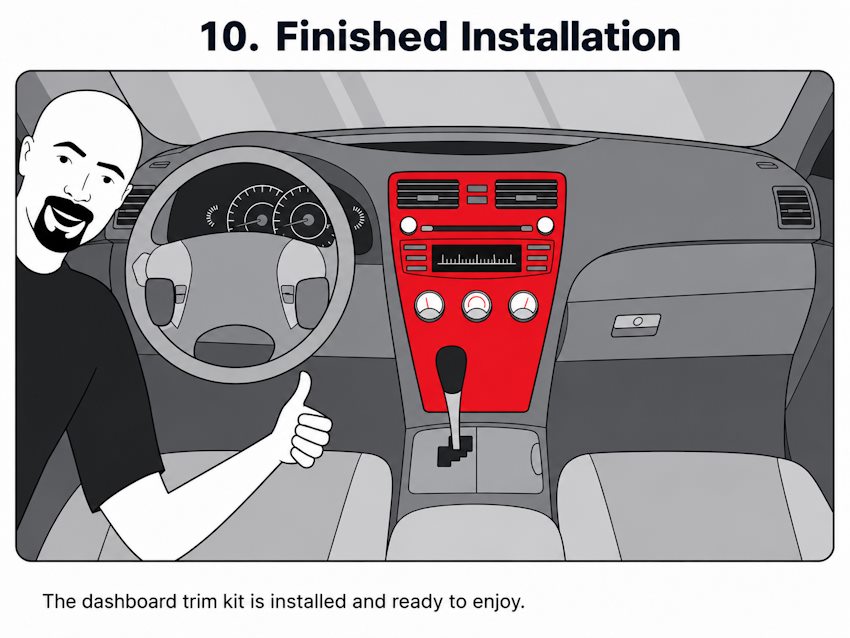
 Finished dashboard trim kit after installation.
Installation Guide Contents
- Complete installation overview
- Dash kit package checklist
- Tools needed for installation
- How to install a dashboard trim kit without removing interior parts
- How to clean the dashboard before applying 3M adhesive trim
- How long does a dashboard trim kit installation take?
- How to remove old interior trim adhesive safely
- Frequently asked questions
Complete Installation Overview
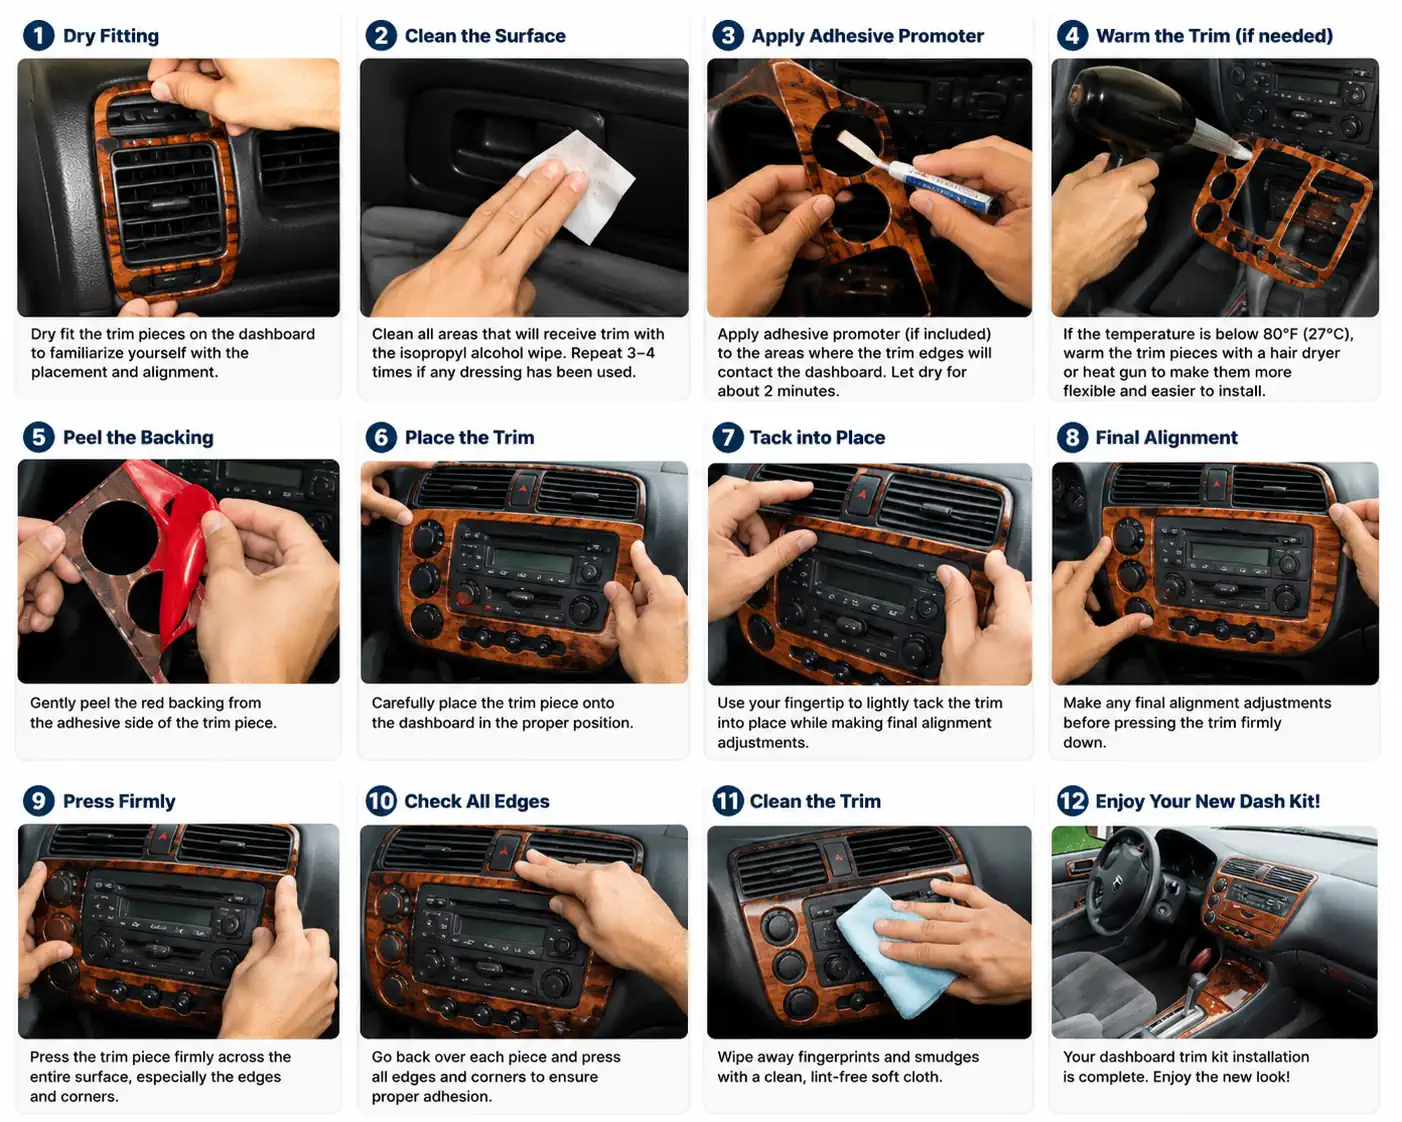
A dashboard trim kit is normally fitted over the existing dashboard and interior trim surfaces. For most vehicle-specific kits, no dashboard disassembly is required. The best result comes from careful dry fitting, correct cleaning, controlled adhesive preparation and firm pressure after alignment.
Most installation problems are caused by poor surface preparation. Silicone dashboard dressings, grease, dust, wax, interior protectants and cleaner residue can stop adhesive trim from bonding correctly. Always clean the bonding areas before applying the parts.
Main installation rules
- Check every part against the installation diagram before removing any backing film.
- Dry fit each part first to confirm position and alignment.
- Clean only the dashboard areas where trim will be applied.
- Remove any silicone dressing, grease or repellent residue before installation.
- Use adhesive promoter only if supplied or recommended for the kit.
- Warm the trim and dashboard slightly if the interior is cold.
- Apply each part carefully and press firmly around the full surface and edges.
- Avoid heavy cleaning or stressing the trim edges for the first 24 to 72 hours.
Dash Kit Package Checklist
Before starting, open the package and check that all supplied parts match the diagram. Do not begin the installation if a part appears damaged, missing or incorrect.
- 1 dashboard trim kit
- 1 dash kit diagram
- 1 printed installation sheet
- 1 warranty information sheet, if supplied
- 2 or more isopropyl alcohol wipes, depending on kit size
- 2 or more adhesive promoter sticks, if included with the kit
Tools Needed for Installation
- Hair dryer or low-temperature heat gun for cooler conditions
- Clean, lint-free, soft cloth
- Masking tape for a simple surface-cleanliness test
- Cotton swabs for tight corners
- Plastic trim tool if old adhesive or old trim must be removed
- 1 to 3 hours of working time, depending on kit size
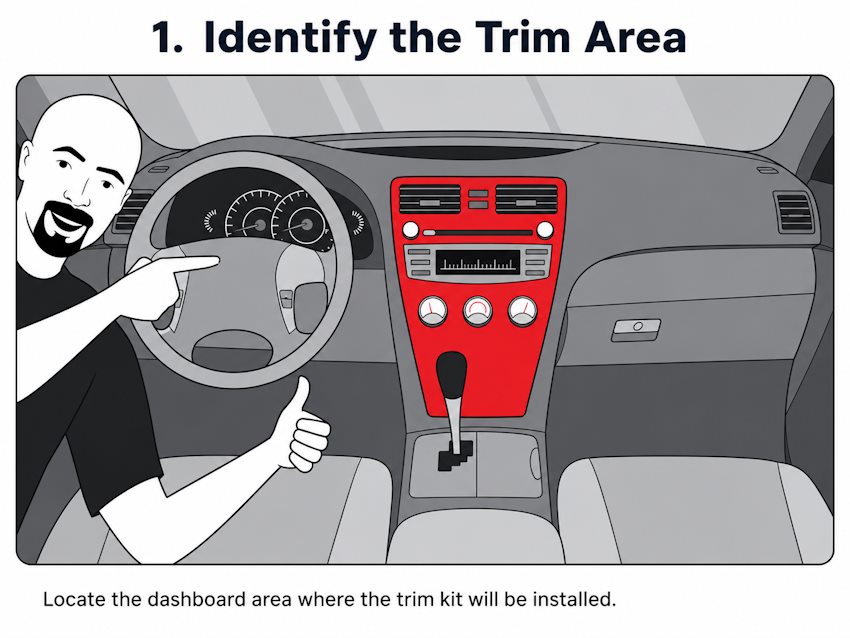
How to Install a Dashboard Trim Kit Without Removing Interior Parts
A vehicle-specific dashboard trim kit is designed to fit over the existing dashboard and interior trim surfaces. In most cases, you do not need to remove original dashboard panels, air vents, buttons, radio surrounds, console parts or door trim panels.
Step 1: Dry fit every trim piece
Start by placing the trim pieces on the dashboard without removing the adhesive backing. This helps you understand where every part belongs and how the shapes align with the vehicle interior.
Use original dashboard details as alignment references:
- air vents
- radio or navigation frame
- climate control buttons
- dashboard switches
- cup holders
- gear selector frame
- door trim edges
Do not force a part into position. If a trim piece does not sit naturally, stop and check the diagram again.
 Dry fit each dashboard trim piece before removing the adhesive backing.
 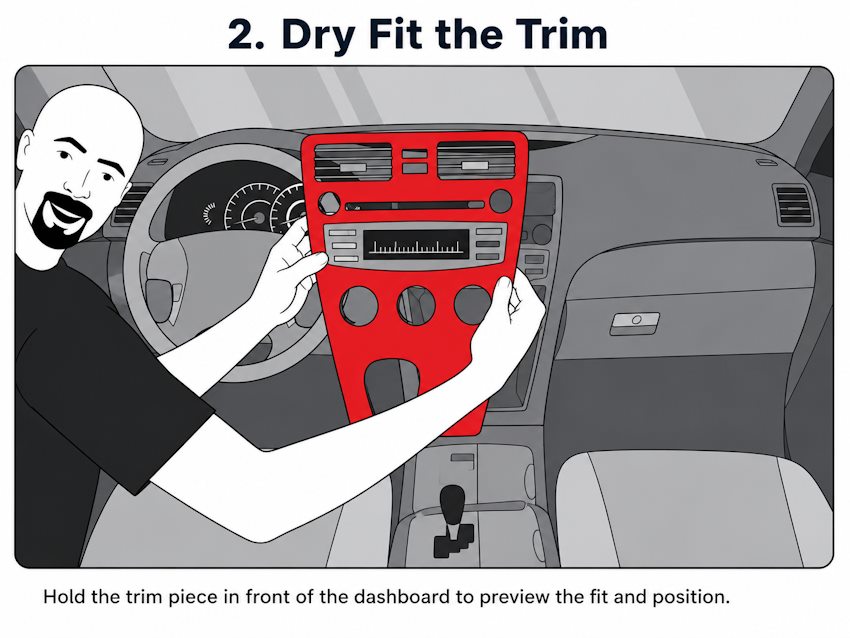 Use vents, buttons and dashboard edges as alignment points.
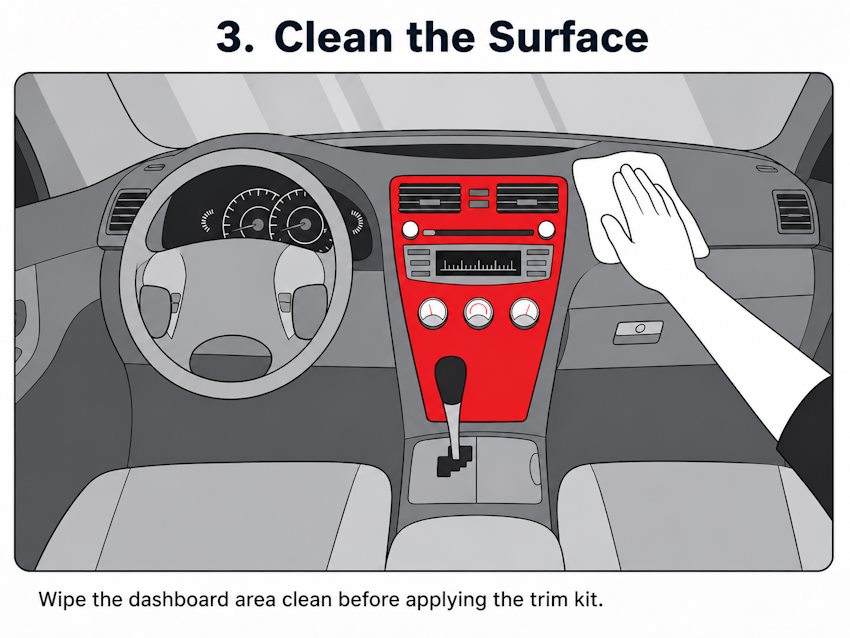
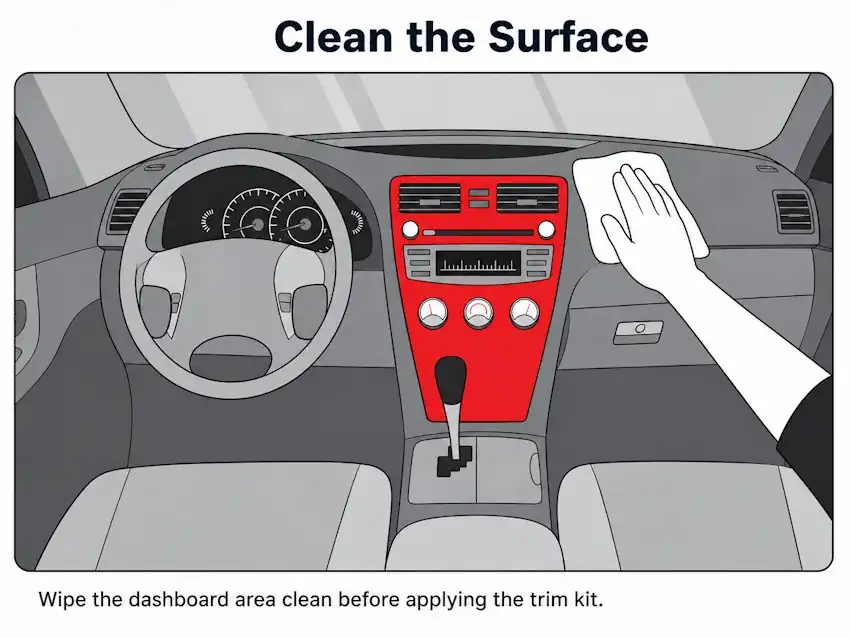
Step 2: Clean the dashboard surface
Clean the surfaces that will receive the trim pieces. Isopropyl alcohol wipes are normally used for final preparation. If the dashboard has been treated with silicone dressing, shine spray, wax or other repellent products, repeat the cleaning process several times.
A useful test is to apply a small piece of masking tape to the cleaned area. If the tape sticks easily, the surface is likely ready for installation. If the tape does not stick well, continue cleaning before applying the trim.
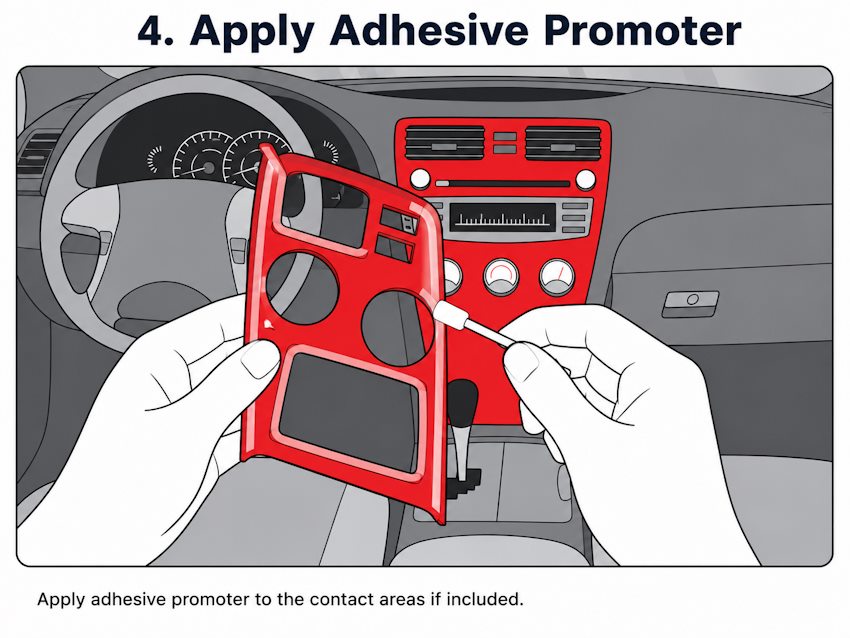
Step 3: Apply adhesive promoter if supplied
Some kits include adhesive promoter sticks. If supplied, use the promoter only on the bonding areas where the trim will be applied. Concentrate especially on corners, edges, narrow parts and curved sections. Do not cover unrelated dashboard areas.
Allow the promoter to dry according to the installation sheet before applying the trim. If the promoter stick is opened, use it during the same installation session because it can dry quickly.
 Apply adhesive promoter only to the prepared bonding areas if it is supplied with the kit.
Step 4: Warm the trim if the vehicle interior is cold
If the temperature is low, gently warm the trim pieces before installation. A hair dryer is usually safer than a professional heat gun. Keep the dryer moving and keep it at a safe distance from the part. The goal is to make the trim slightly more flexible, not to overheat it.
Warming the dashboard area slightly can also help the adhesive bond correctly in cooler conditions.
 Warm the trim gently if the interior temperature is low.
 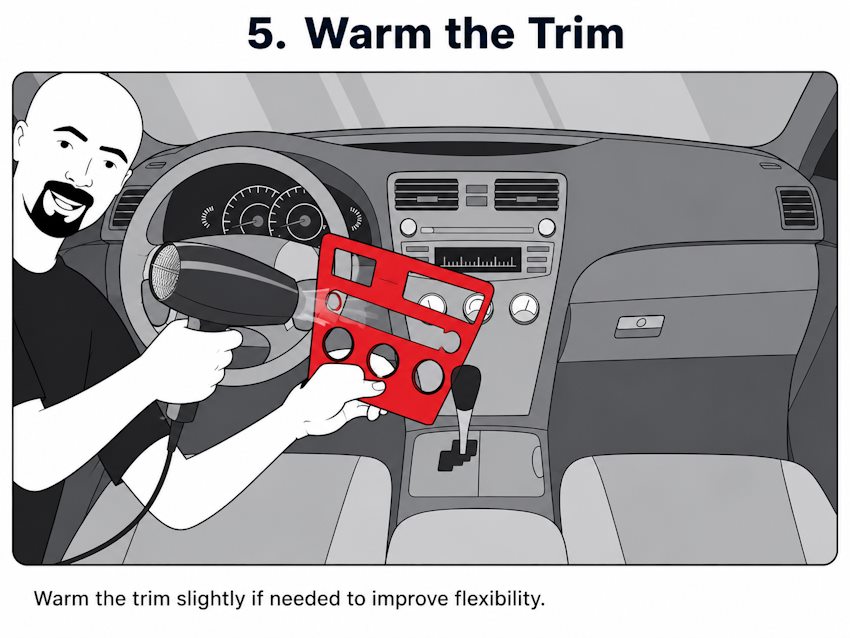 Keep the heat source moving and do not overheat the material.
Step 5: Peel, align and tack lightly
Carefully peel the backing film from the adhesive side of the trim piece. Position the piece slowly and allow only a small area to make first contact. Use a fingertip to tack the part lightly while you make final alignment adjustments.
Once the full adhesive surface is pressed down, repositioning becomes difficult. Work slowly and install one part at a time.
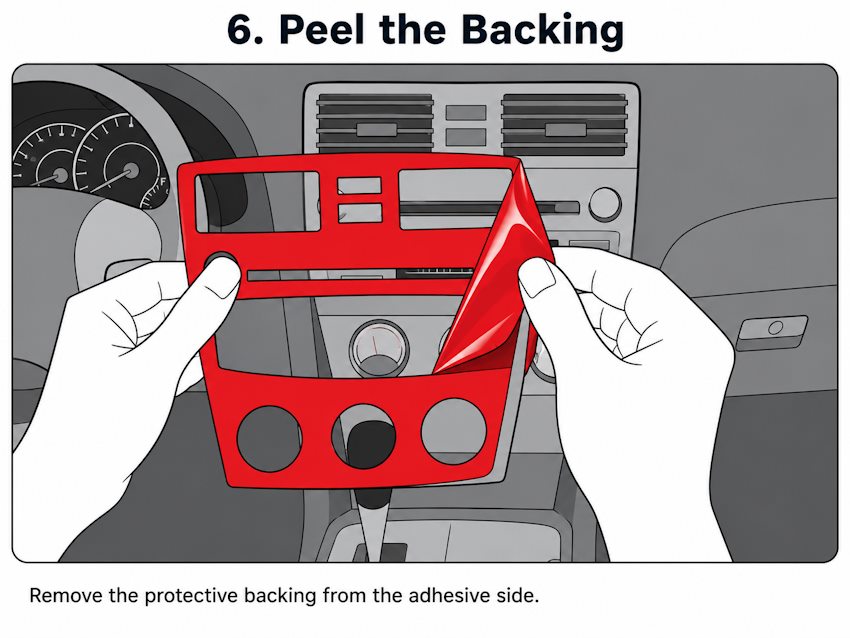 Peel the adhesive backing carefully from the trim piece.
 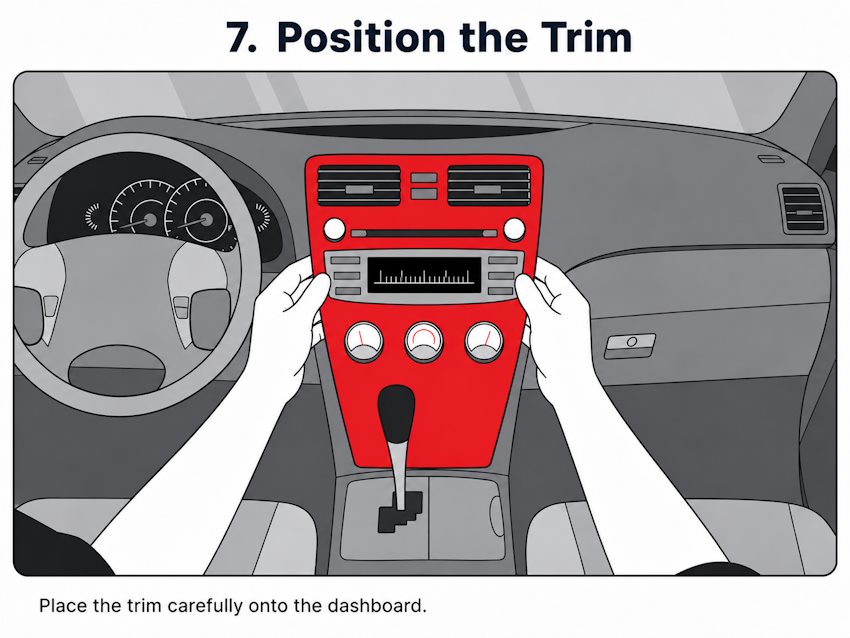 Place the trim gently and check alignment before firm pressure.
 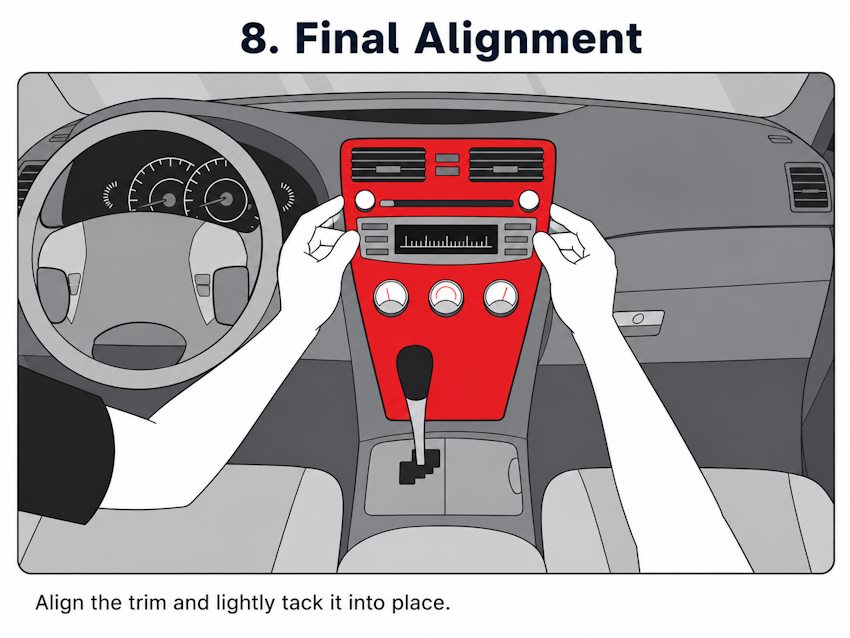 Use a fingertip to lightly tack the trim while adjusting position.
 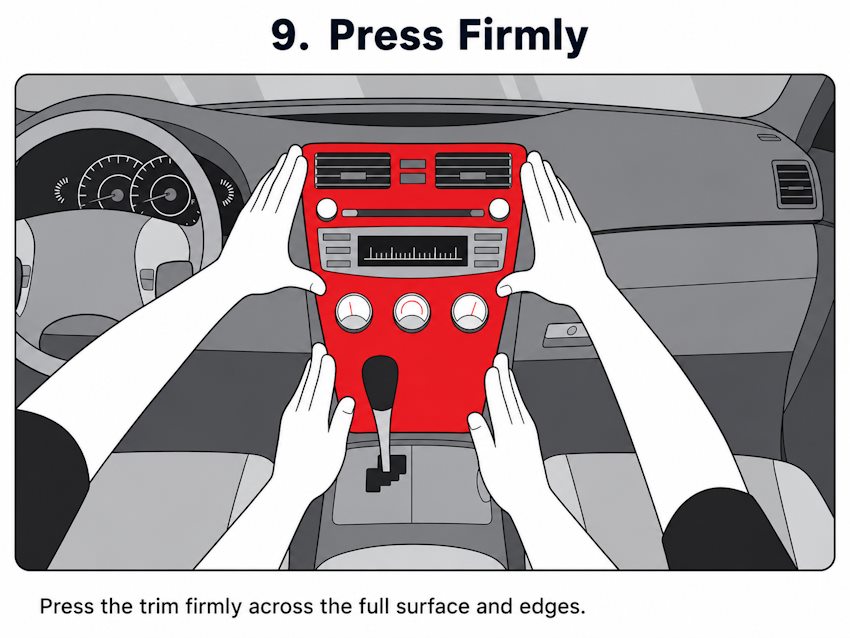 Make the final alignment adjustment before pressing firmly.
Step 6: Press firmly across the full part
After the part is aligned, press it firmly into place with your fingers. Pay special attention to corners, edges, thin ends, curved pieces and areas around buttons or vents. Repeat the same process for all remaining dashboard trim pieces.
 Press the entire trim surface firmly, especially corners and curved areas.
Step 7: Final clean and inspection
After all parts are installed, go back over every piece and press the edges again. Clean fingerprints and smudges from the glossy surface with a clean, lint-free cloth. If needed, use a safe glass cleaner or a small amount of rubbing alcohol on the cloth, not directly sprayed into switches or electronics.
 Clean fingerprints and smudges with a soft lint-free cloth. Completed dashboard trim kit installation.
How to Clean the Dashboard Before Applying 3M Adhesive Trim
Correct cleaning is the most important part of dashboard trim kit installation. Even a perfectly shaped trim piece may lift at the edges if the surface contains silicone dressing, wax, grease, dust, oil or cleaner residue.
Recommended cleaning materials
- isopropyl alcohol wipes or suitable IPA-based cleaner
- clean lint-free cloth
- soft detailing brush for dust
- cotton swabs for narrow edges and corners
- masking tape for a quick adhesion check
Cleaning products to avoid before installation
- silicone dashboard sprays