
Shopping Cart
Short answer: your kit is fitted over the existing dashboard and interior panels – nothing has to be dismantled. Check every part against the label and the parts diagram, dry-fit, clean the surface with isopropyl alcohol, peel the backing, align and press firmly with a squeegee. Small kits take well under an hour; most problems come from a surface that was not cleaned properly.
Thinking of using wrap film from the roll instead? Before you spend money on film, read why it is harder than it looks – and how a pre-shaped kit differs. Kit or wrap film? Read the comparison →
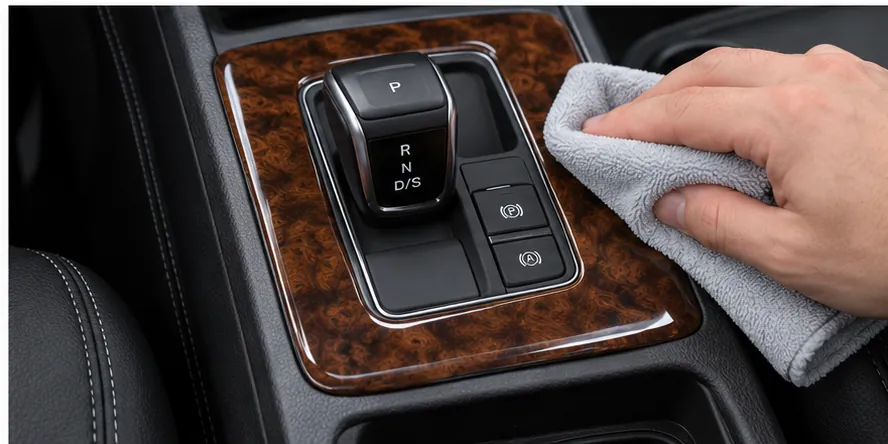
Why fit a kit on a brand-new car?
Many owners of new cars protect the paint – and sometimes the interior – with transparent PPF film. PPF protects, but it does not change how the interior looks. A CockpitDekor kit does both: it protects the surfaces underneath and gives the interior a new look in the finish you choose.
- The weak spots of modern interiors. Many cars use plastic parts painted in an aluminium look, glossy piano-black panels or thin synthetic veneer. These finishes wear quickly where hands, keys and phones touch them – the first scratches often appear within weeks of buying the car.
- Cover them from day one. Fit the kit while the interior is still new, and the original surfaces stay protected underneath for as long as you drive the car.
- Easy to remove when you sell. Warm each part with a hair dryer or a heat gun, peel it off slowly, and remove the remaining adhesive with a citrus-based adhesive remover or isopropyl alcohol. The original surface underneath keeps its almost-new condition – a clear plus at resale. If you prefer not to do it yourself, any car-wrapping workshop can remove a kit in about half an hour.
How our kit compares
There are three ways to change the look of an interior trim:
| Original trim packages (premium brands) | Moulded 3D trim kits | CockpitDekor kit | |
|---|---|---|---|
| Fitting | Interior trim, and sometimes the dashboard, has to be dismantled | Dismantling and complex fitting, usually by trained staff | Stuck on over the existing surfaces – nothing is dismantled |
| Risk | Retaining clips often break when panels are removed | Same risk of broken clips and rattles | No clips touched |
| Where | Workshop | Specialist workshop | At home, in the garage or in a car park |
| Time | Hours to days | Hours | About 30–60 minutes |
| Price | From around €500, often far more | Varies | Most kits about €50–200 |
In short: the look of an upgraded interior, at a fraction of the price, without tools for dismantling and without risk to the original parts.
What arrives in your envelope
We ship every kit flat in a single white cardboard envelope (wall-calendar mailer, about 61 × 43 cm and less than 1 cm thick). It is made of corrugated cardboard only, so the whole packaging goes straight into paper recycling – no plastic padding, no foam, no filler.
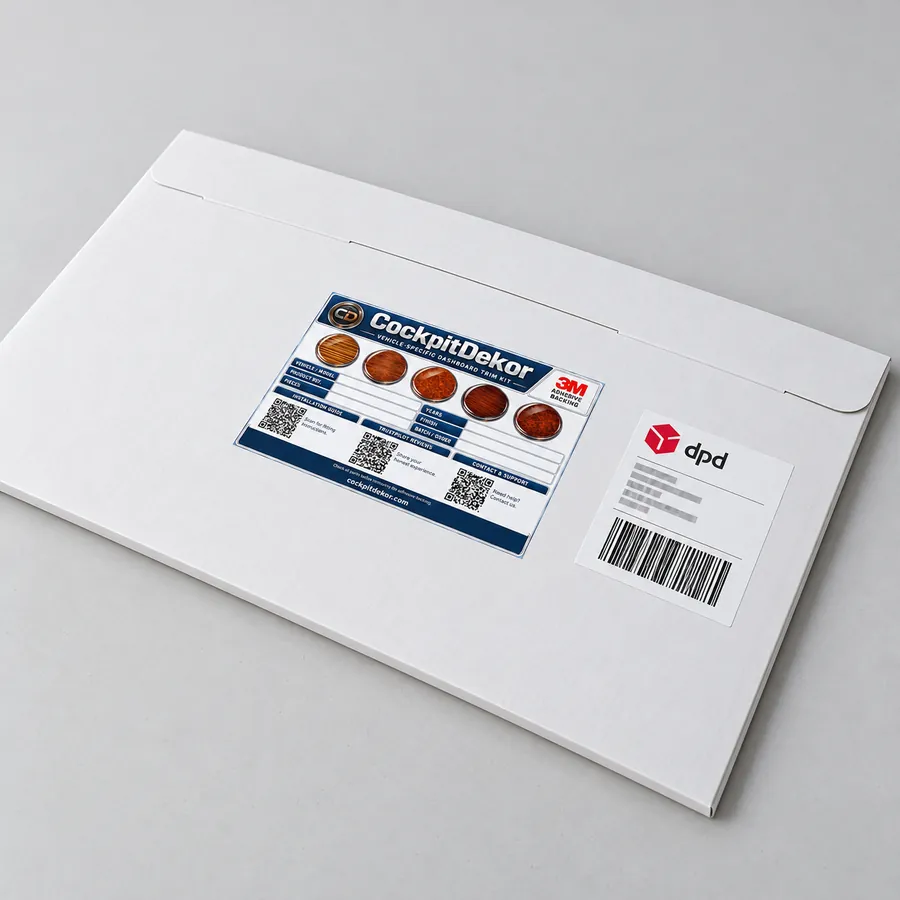
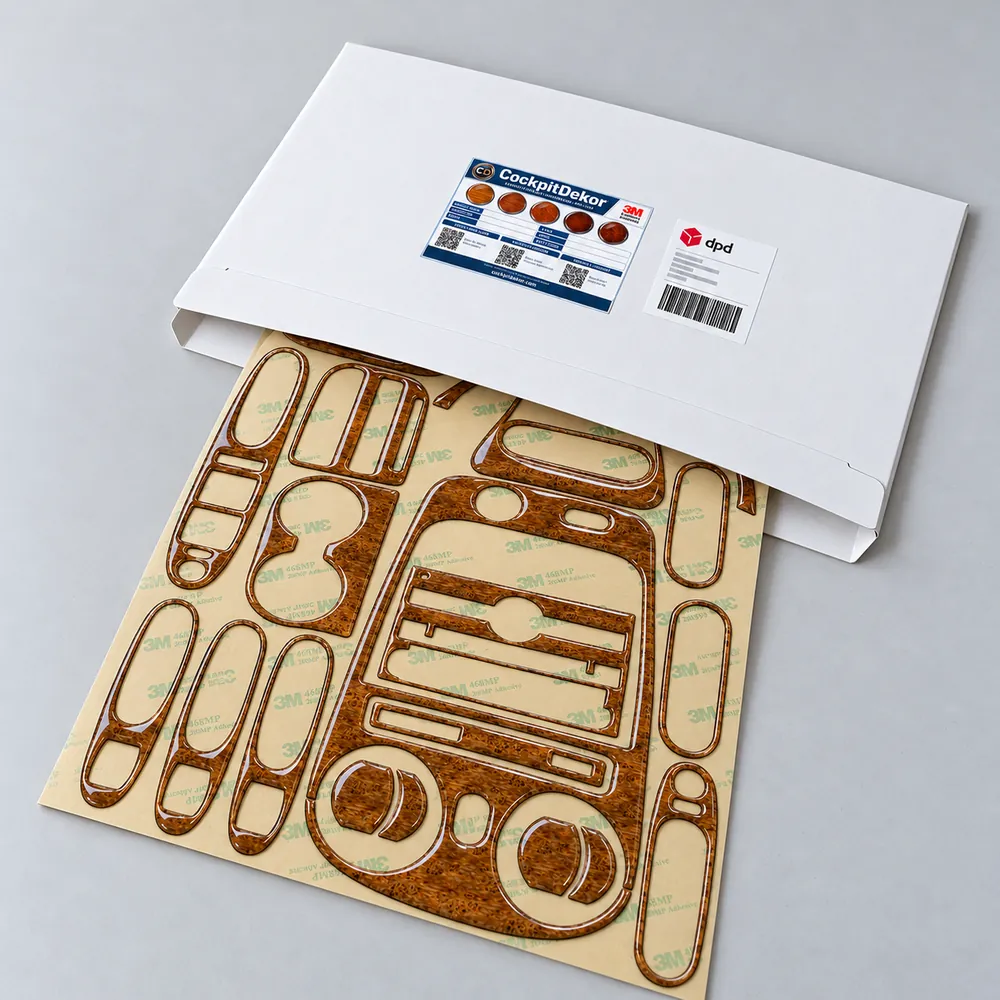
Inside you will find only your trim parts:
- The parts are printed and domed on sheets of 3M 468MP adhesive transfer tape (3M adhesive 200MP) and stay on that sheet exactly as they were produced. The sheets are stacked and clipped together.
- A clear protective film lies on top, so the freshly domed surface cannot stick to the cardboard during transport.
The label on the envelope
| Field | What it tells you |
|---|---|
| Vehicle / Model, Years | The car and model years the kit was cut for. |
| Product ref. | The article number of your kit – quote it if you contact us. |
| Finish | The decor you chose (wood look, carbon look, aluminium look …). |
| Pieces | How many parts should be in the envelope – count them before you start. |
| Batch / Order | Your order and production batch. |
| QR code “Installation guide” | Opens this page. |
| QR code “Trustpilot reviews” | Share your honest experience after fitting. |
| QR code “Contact & support” | Questions, a missing or damaged part, or help with fitting. |
Why there are no tools or wipes in the envelope
We deliberately send nothing but the parts. Cleaners and chemicals are restricted in express courier transport, single-use tools end up as waste, and every extra item would make your kit more expensive. The few things you need are cheap and available in any DIY or discount store.
What you need
| Item | What for |
|---|---|
| Isopropyl alcohol (IPA) and a lint-free cloth | Final cleaning of the bonding areas. Use pure IPA – household cleaners or rubbing alcohol with additives can leave oily residue. |
| Squeegee (ideally felt-edged) | Pressing the parts down firmly and evenly. |
| Small hand roller | Corners, edges and curved areas. |
| Scalpel or craft knife | Lifting a corner of the backing liner; trimming only if really needed. |
| Hair dryer | Warming parts and surfaces in a cold car. |
| Masking tape | A quick check whether the surface is clean enough. |
Before you start
- Check the kit: compare the label and the parts diagram on the product page with your car (radio/navigation unit, climate panel, gearbox, left- or right-hand drive). Do not remove any backing until everything matches.
- Temperature: 3M specifies an ideal application temperature of about 16–38 °C for this adhesive and does not recommend bonding to surfaces colder than 10 °C. In winter, park in a garage or run the heating first.
- Light: work in daylight or good light so you can see dust and alignment.
Step by step
- Dry fit. Hold each part in place with the backing still on. Use vents, the radio frame, switches and panel edges as reference points. Never force a part.
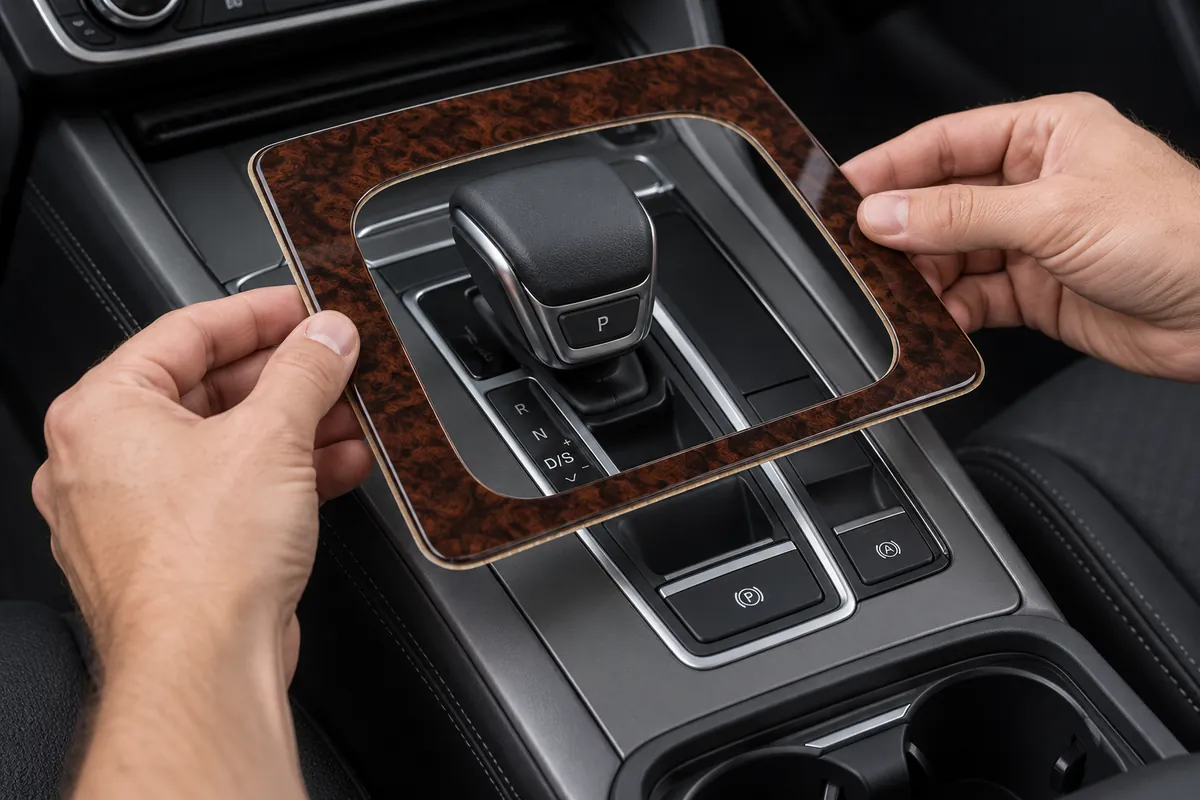
- Clean. Wipe only the areas that will be covered with IPA on a lint-free cloth. If the dashboard was treated with silicone or shine spray, repeat until the cloth stays clean.
- Tape test. Press a strip of masking tape onto the cleaned area. If it does not grip well, clean again.
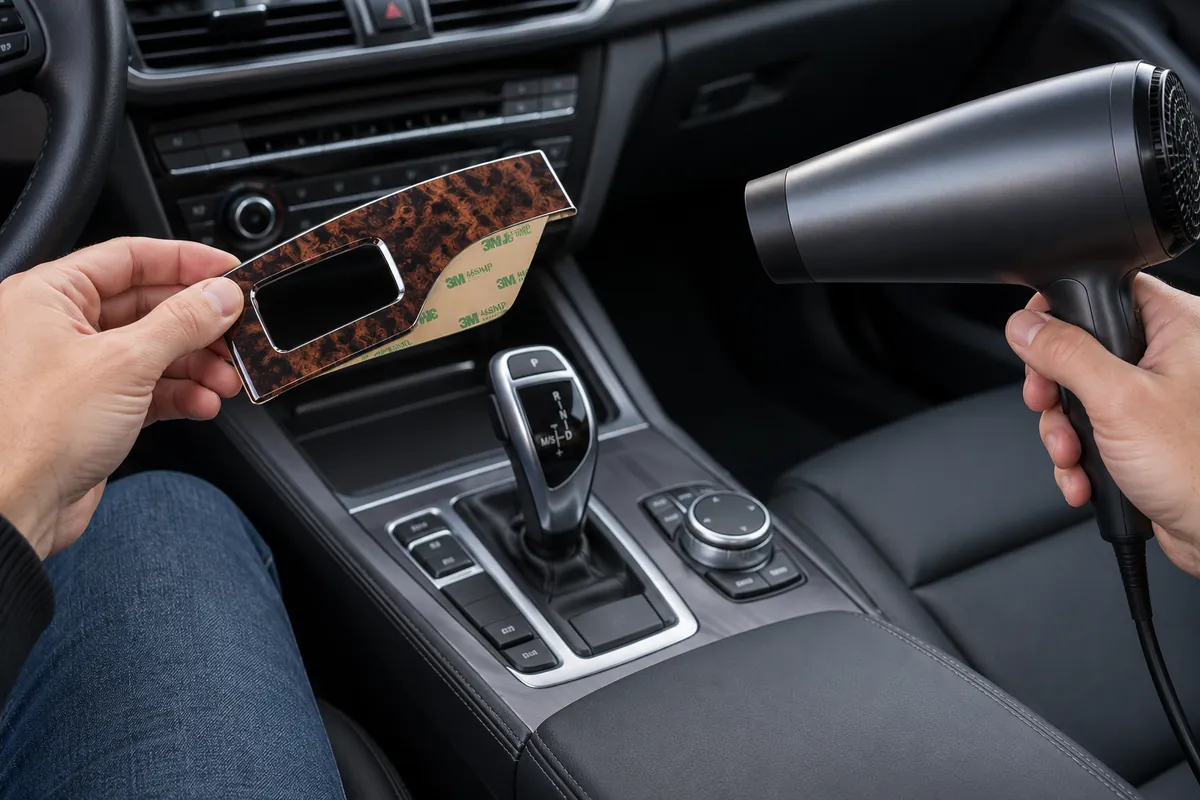
- Warm if cold. Below room temperature, warm the part and the surface briefly with a hair dryer – keep it moving, the aim is “pleasantly warm”, not hot.
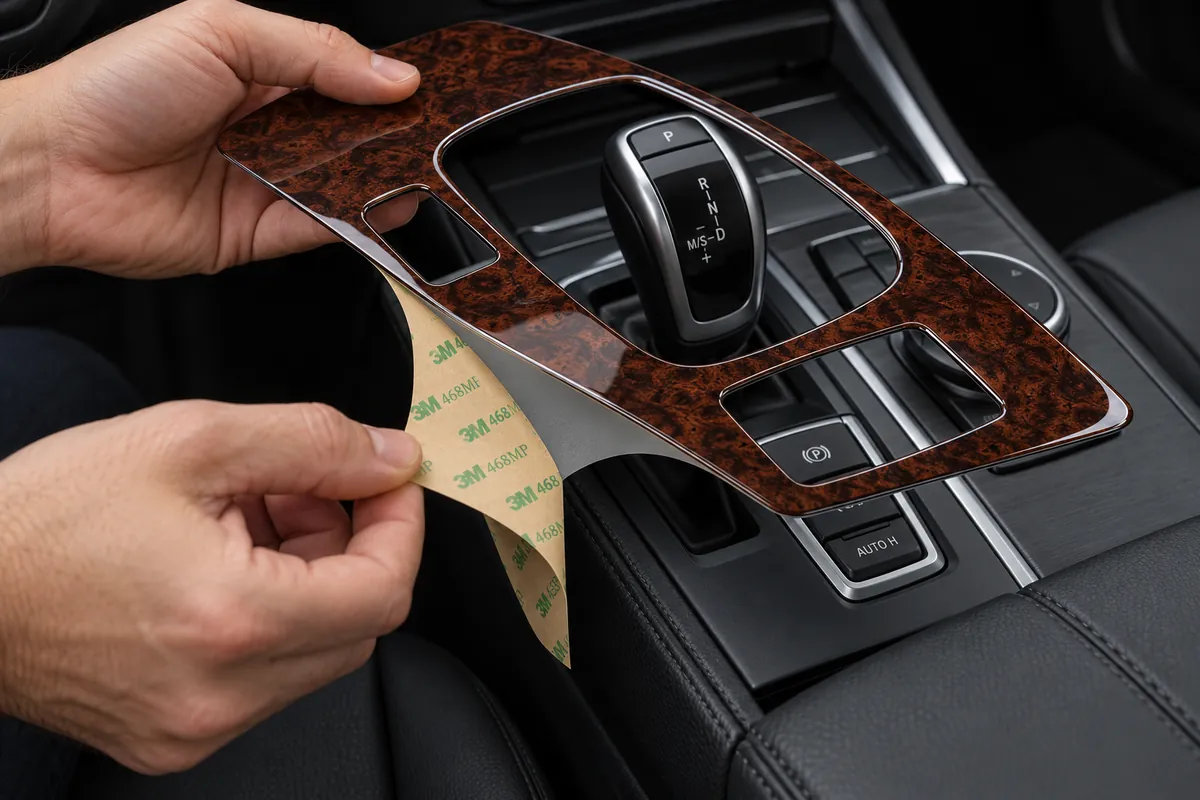
- Peel the backing. Lift a corner with the knife tip and peel the liner off. Do not touch the adhesive with your fingers. On long parts, peel only a few centimetres first.
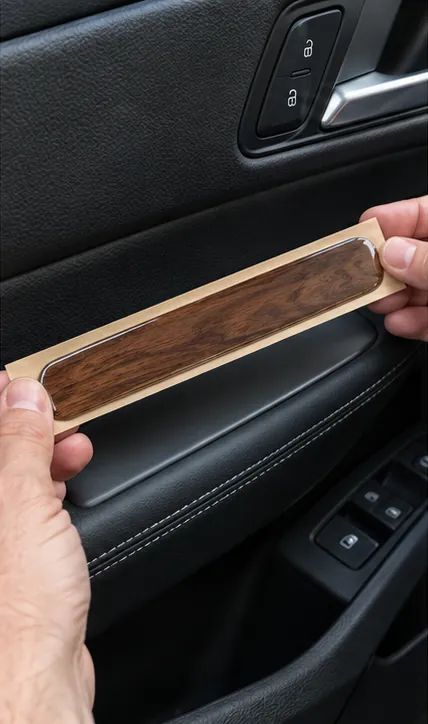
- Place and tack. Let one end touch first, check the alignment, then lower the rest. While only lightly touched, the part can still be corrected; once pressed down, it cannot.
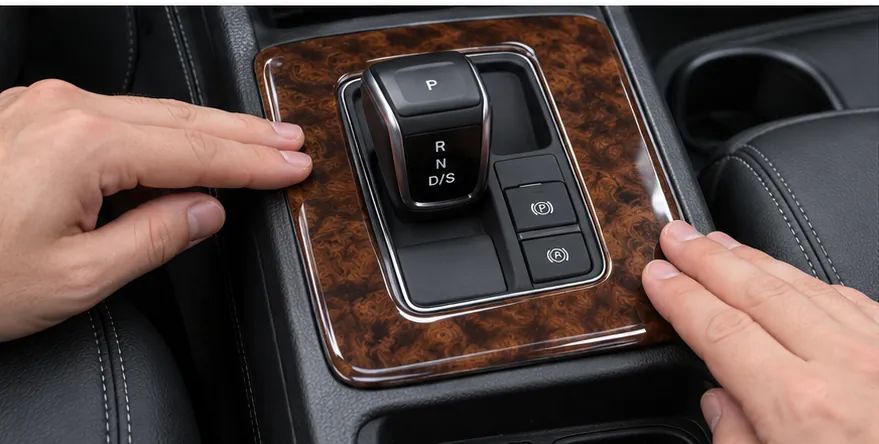
- Press firmly. Go over the whole part with the squeegee, from the centre to the edges, and roll corners and curves with the roller. Firm, even pressure is what makes the bond.
- Final check. Press all edges once more and wipe off fingerprints with a soft cloth.
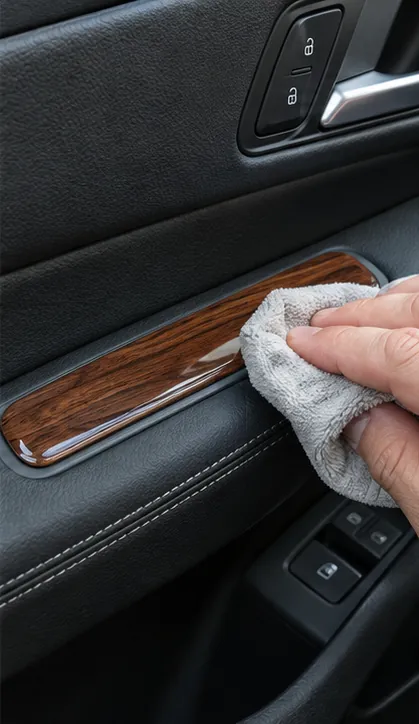
After installation
- The 3M adhesive keeps building strength over time and with warmth – avoid lifting or stressing edges during the first days.
- The polyurethane dome cures further over about two weeks, faster in sunlight, and then becomes almost as hard as glass.
- Hot summer dashboards are no problem: according to 3M the 200MP adhesive withstands up to 149 °C for long periods.
Care and durability
- Cleaning is easy: a damp soft cloth, or a mild interior cleaner applied to the cloth, not sprayed onto electronics. No abrasive pads.
- Unlike epoxy resin, which typically yellows after a year or two, our polyurethane dome stays crystal-clear.
- The cured surface resists cigarette burns and is hard to damage even with a sharp point.
- Light surface scratches can be removed by warming the area with a hair dryer – the dome levels them out by itself.
Our guarantee
We give a lifelong guarantee on the trim parts. If a part goes missing or was placed wrongly during fitting, we replace it – just contact us via the support QR code on the envelope or our contact form.
Prefer a matt look?
All kits are delivered high-gloss. If you prefer a satin or matt finish, spray 1–2 thin coats of clear matt lacquer onto the parts before installing them and let them dry fully.
Designer Trim kits – large parts
Designer Trim kits cover large areas such as screen surrounds, the climate panel, door panels, the centre console and the glovebox. The steps are the same, plus:
- Work with a second pair of hands for long or wide parts.
- Peel the backing gradually: remove a few centimetres, fix that edge in the correct position, then pull the rest of the liner out from underneath while pressing the part down with the squeegee.
- Take extra care with the dry fit – a large part cannot be shifted once its centre is pressed down.
FAQ
Do I need to remove the dashboard?
No. The kit goes over the existing surfaces.
Why is there nothing else in the envelope?
To keep the packaging fully recyclable, avoid chemicals in courier transport and keep the price low. You need IPA, a squeegee, a small roller and a knife – all available locally.
Can I fit the kit in winter?
Yes, if the surface is at least 10 °C – ideally room temperature. Warm the car and the parts first.
What if a part does not fit?
Stop, do not cut or force it. Compare with the parts diagram and contact us with the product reference from the label.
Can the parts be removed later?
Yes. Warm the part with a hair dryer or heat gun, peel it off slowly and remove the remaining adhesive – the original surface underneath stays protected and in good condition. Keep the heat moving and do not overheat the surrounding plastic. Most adhesive residue can be rolled off with your thumb; the rest comes off with a citrus-based adhesive remover (for example 3M Adhesive Remover Citrus Base) or isopropyl alcohol on a soft cloth. Test the cleaner on a hidden spot first, especially on painted or soft-touch surfaces.
Is this worth it on a new car?
Yes – it is the best moment. Painted aluminium-look and piano-black parts scratch quickly; covered from day one, they stay like new underneath, and the kit can be removed before you sell the car.
Will the parts yellow or fade?
No. The polyurethane dome does not yellow and is UV-resistant.
Vehicle manufacturer names are used only to identify compatible vehicles. 3M and 468MP are trademarks of 3M Company. CockpitDekor / Autodekor s.r.o.