
Shopping Cart
Short answer: wrap film is cheap to buy but hard to fit well, and it stays soft and easy to scratch. A CockpitDekor kit is already cut and shaped for your car, so there is nothing to stretch or trim in the car – and its domed polyurethane surface cures almost as hard as glass.
“I’ll just buy some wood-look film for €10 a metre”
It is the first idea many drivers have. A metre of decorative vinyl costs about as much as a car wash, and online videos make wrapping look easy. In practice, a good result needs experience – and the difference shows on every edge and corner.
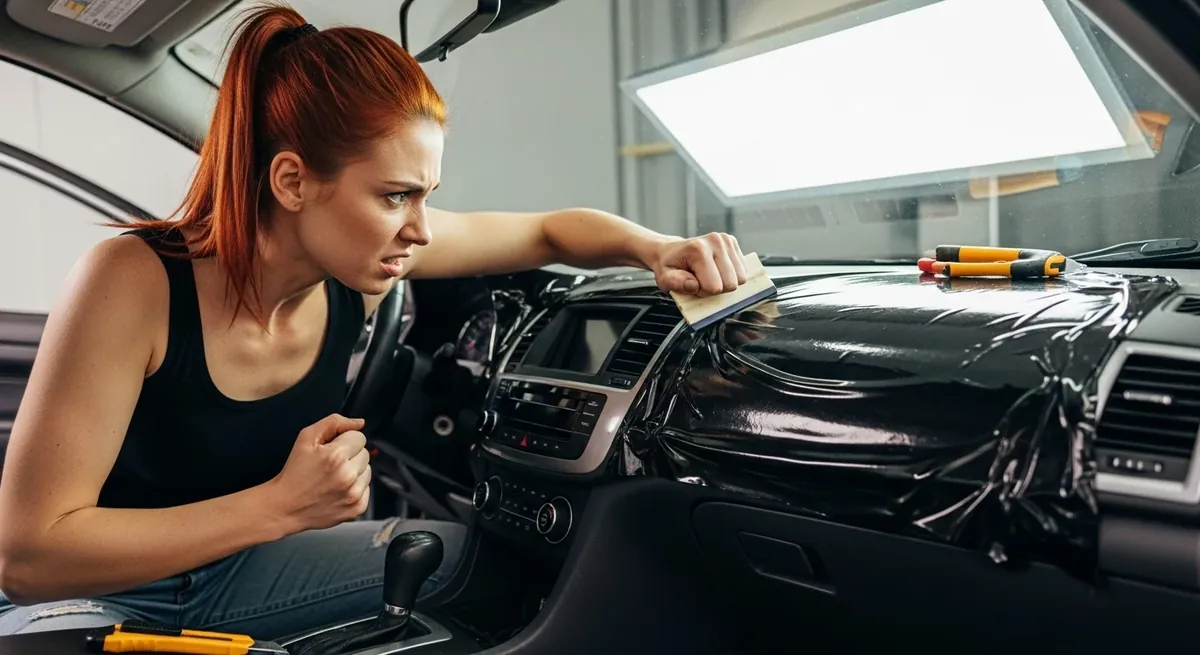
What wrapping with film really involves
- Handling the film. As soon as the liner comes off, thin film tends to crease, fold over and stick to itself. Once it has stuck together, it is usually ruined.
- Stretching. To follow a curved panel, film has to be warmed and stretched correctly. Too little and it lifts; too much and you get visible stretch marks, a distorted wood grain or even cracks.
- Cutting in the car. Excess film has to be trimmed with a sharp blade directly on the dashboard – right next to leather, soft-touch plastic and switches that are easily cut.
- Corners and edges. Edges have to be tucked in neatly. If they are not, they stand out, collect dirt and make the interior look cheap.
- Durability. Film stays thin and soft. A pushchair, a shopping bag or a key loaded into the car can scratch it, and so can careless cleaning.
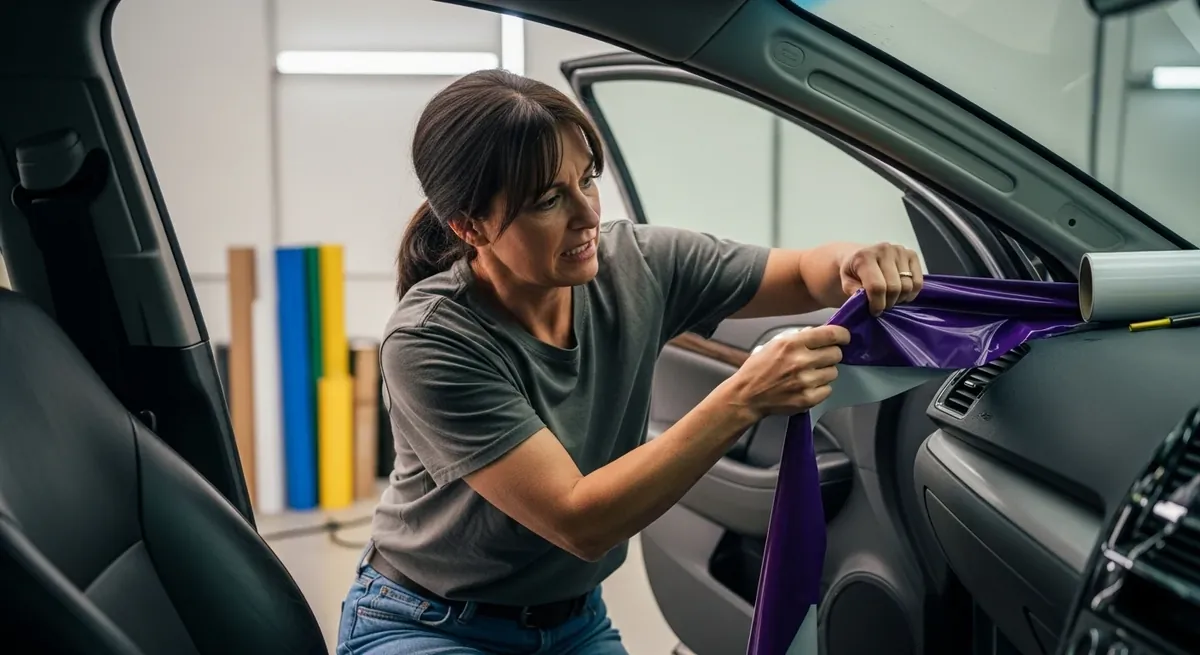
Premium film is no shortcut either. High-end decorative films – for example with a Damascus-steel or forged-carbon pattern – create a stunning effect, but cost about €100–120 per metre. Inside the car they demand very precise work with squeegee and knife. For an amateur, the risk of paying that much and ending up with creases or stretch marks is real – and a spoiled piece cannot be used again.
Minimalist interiors show every mistake. In cars such as a Tesla, with large smooth panels and visible edges everywhere, a hand-wrapped part quickly looks cheap. A pre-shaped part fits like a factory piece.
How a CockpitDekor kit is different
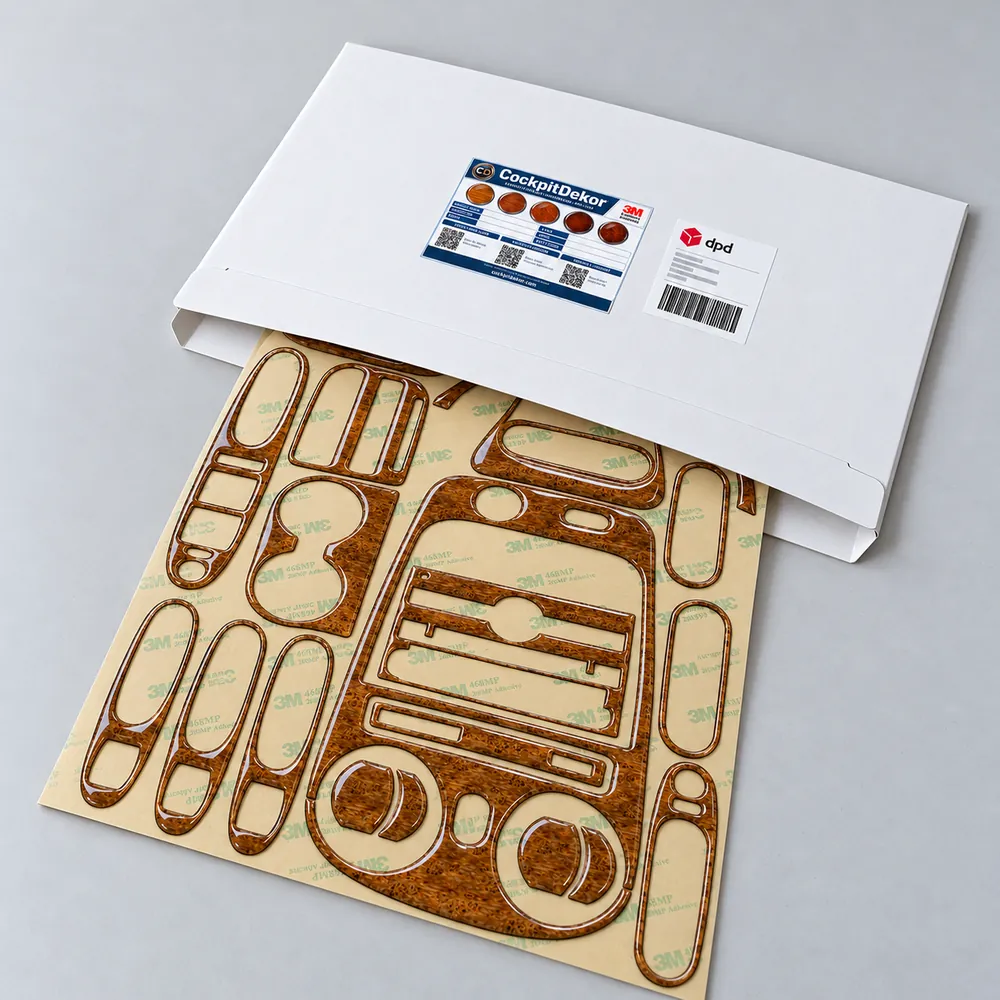
- Already shaped for your car. Every part is cut to the exact outline of the surface it covers. There is no stretching, no cutting on the dashboard and no corners to tuck in.
- A thick, domed surface. The printed decor is covered with a clear polyurethane dome. That gives the parts depth and a high-gloss finish that flat film cannot match.
- Hard and scratch-resistant. After about two weeks – faster in sunlight – the surface cures almost as hard as glass. Bags, a pushchair or everyday cleaning do not mark it, and light surface scratches can be smoothed out with a hair dryer.
- Does not yellow. We use a two-component polyurethane doming resin from the Italian manufacturer Color-Dec, which guarantees at least 10 years without yellowing.
- Strong, clean adhesive. Each part sits on 3M 468MP adhesive transfer tape, which can be removed later with a little heat.
Designer Trim: premium looks under the dome. For our Designer Trim kits we also cover high-end decorative films with the clear polyurethane dome – a 6D carbon look, a high-gloss forged-carbon look and brushed-aluminium looks in light silver and dark grey. Under the dome these finishes gain real depth and shimmer beautifully in sunlight. Not every film is suitable: we test each one, because some patterns lose their effect under the resin.
Fitting a kit part – step by step
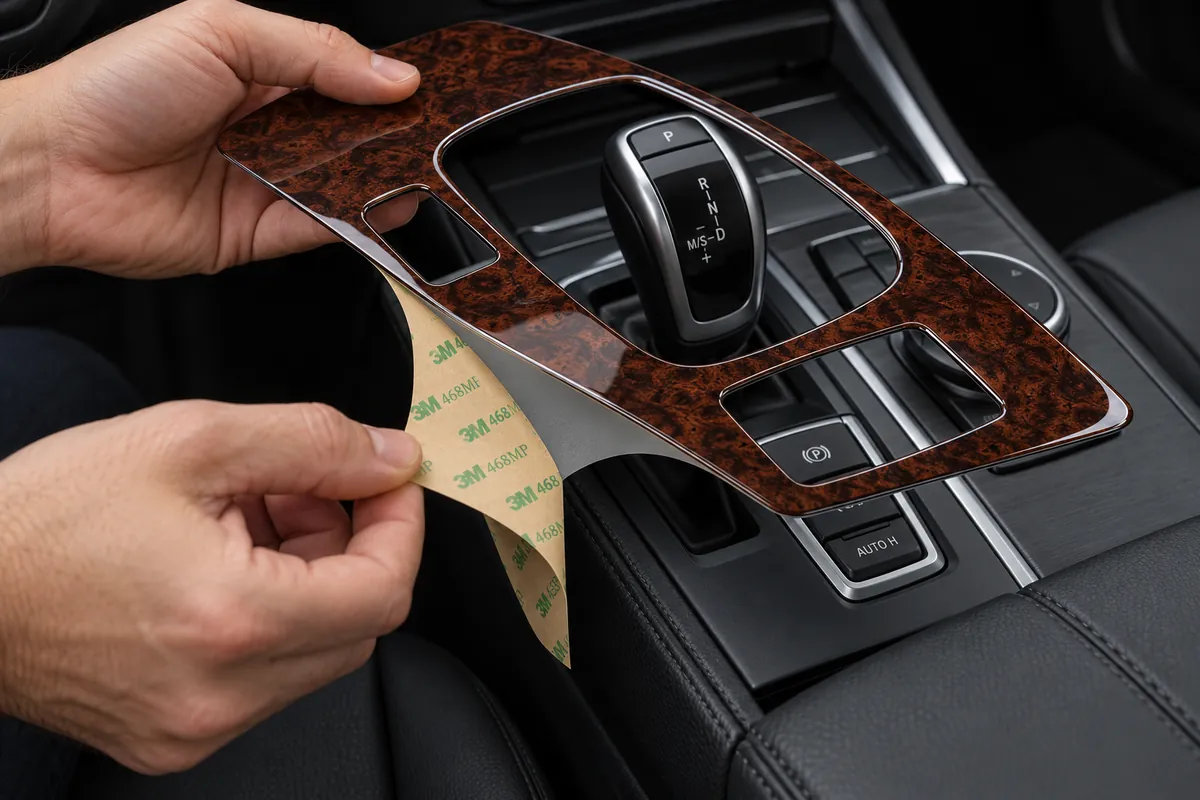
- If the parts arrive together on one sheet, cut them apart roughly with scissors, keeping the backing on.
- Dry fit each part on the clean surface with the backing still on.
- Peel back the 3M liner at one corner and place that corner exactly.
- Keep peeling the liner gradually while laying the part down, from one corner to the other.
- Smooth the whole part with a soft cloth and press the edges firmly, then let the adhesive set.
- If a part is not right, warm it gently with a hair dryer, lift it carefully and place it again.
The full guide with tools, temperatures and care tips is in our installation guide.
And what about real carbon-fibre overlays?
Stick-on trims made of real carbon-fibre fabric are widely sold online. Real carbon is a woven fabric, so every part has to be cut with a tangential knife – a laser cannot cut it cleanly. In series production the blade dulls after around a hundred kits and the edges start to fray. The parts then have to be sealed with resin; epoxy resin tends to yellow inside a car. The result is often a visible frayed edge, and the part looks like a foreign body on the dashboard rather than a finished piece. Our parts have a smooth, rounded, drop-shaped domed edge that blends into the interior.
Wrap film vs. CockpitDekor kit at a glance
| Wrap film from the roll | CockpitDekor kit | |
|---|---|---|
| Skill needed | Wrapping experience: heating, stretching, trimming | Align, peel, press |
| Cutting in the car | Yes, next to leather and switches | No – parts are pre-cut |
| Typical faults | Creases, stretch marks, lifting corners | Exact fit to the surface |
| Surface | Thin, flat, soft | Domed, high-gloss, cures glass-hard |
| Scratches | Easily scratched by bags or cleaning | Scratch-resistant; light marks removable with heat |
| Yellowing | Depends on the film | Resin guaranteed at least 10 years non-yellowing |
| Price | About €10 per metre, plus tools and any failed attempts | Most kits about €50–200, complete |
When film can still make sense
Film is a good choice for large flat areas, for experienced wrappers or for a quick colour test. For the dashboard, the console and the door trims – with their curves, cut-outs and edges right next to the controls – a pre-shaped kit gives a cleaner, more durable result with much less risk.
Find the kit for your vehicle
Every kit is made for one specific model. Pick your vehicle make and check the parts diagram on the product page.
3M and 468MP are trademarks of 3M Company. Color-Dec is a trademark of its respective owner. Kits are decorative overlays with a wood, carbon or aluminium look; they are not made of real wood, carbon or metal.
Comments (0)