
Shopping Cart

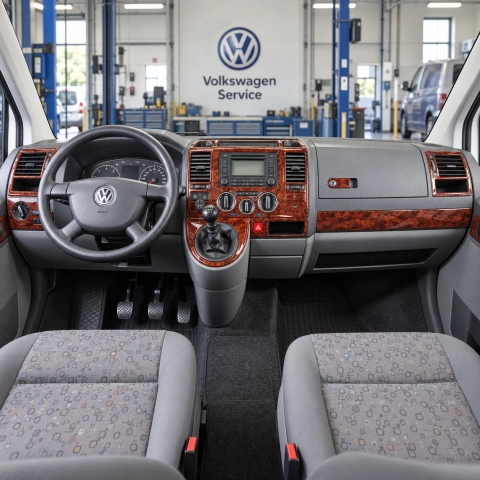
A dashboard trim kit is designed to be fitted by the owner, without removing the dashboard. The result depends far more on preparation than on skill: clean surfaces, a comfortable temperature and a dry run before anything is stuck down. This guide brings together everything you need, from preparing the surfaces to the mistakes we see most often. For the full illustrated steps, see also our installation guide.
What you need
- The kit, with the parts diagram from the product page printed or on your phone
- Isopropyl alcohol or a degreaser that leaves no residue, and lint-free cloths
- A soft cloth for pressing the parts
- Good light and, in winter, a heated garage or a hair dryer to warm the plastics
Preparing the dashboard
Most adhesion problems come from residue on the plastic. Interior care sprays and wipes usually contain silicone, which stops the adhesive from bonding properly.
- Wash the panels with mild soapy water if they are very dirty, then let them dry.
- Wipe every surface that will receive a part with isopropyl alcohol, using a clean cloth.
- Wipe again with a fresh cloth until it stays clean.
- Do not touch the cleaned surfaces with your fingers.
Temperature matters
Adhesive bonds best on plastics at room temperature. On a cold dashboard it grips poorly; on a dashboard heated by direct sun it can grip too fast to position the part. Work in the shade or in a garage at a comfortable temperature, and warm cold plastics gently with a hair dryer if needed.
Fitting the parts
- Lay out all parts and match them to the diagram.
- Dry-fit each part first, without removing the backing, to see exactly where it goes.
- Peel back only part of the backing, align the openings and edges, then stick down that section.
- Remove the rest of the backing while smoothing the part from the aligned side outward.
- Press the whole surface firmly with a soft cloth, paying attention to edges and corners.
Keep vents, switches, warning lights and airbag areas free. If you want a matt finish, spray clear matt lacquer on the parts before fitting, not after.
Common mistakes to avoid
- Skipping the degreasing because the dashboard “looks clean”.
- Fitting in the cold or in full sun.
- Removing all of the backing at once – the part sticks before it is aligned.
- Pulling a part off repeatedly to reposition it; the adhesive loses strength each time.
- Cleaning the new parts with aggressive products during the first days.
FAQ
Can I remove a part and fit it again?
Gently, once, right after fitting – but each removal weakens the adhesive, so dry-fit carefully first.
Do I need to remove the dashboard or any panels?
No. The parts go on top of the existing surfaces. Removing a panel is only worth it if it makes access easier and you know how to do it.
How should I clean the parts afterwards?
Use a soft damp cloth. Avoid solvents, abrasive products and silicone sprays.
Find the trim kit for your vehicle
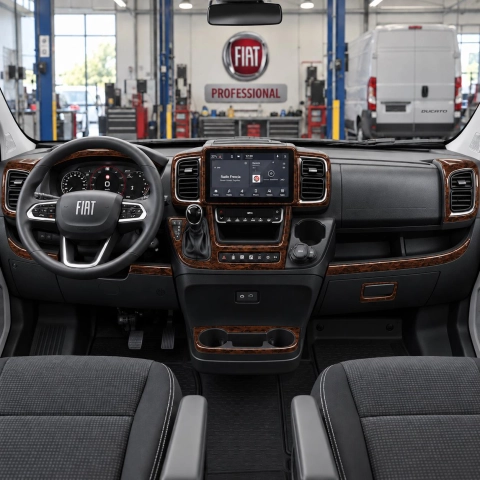
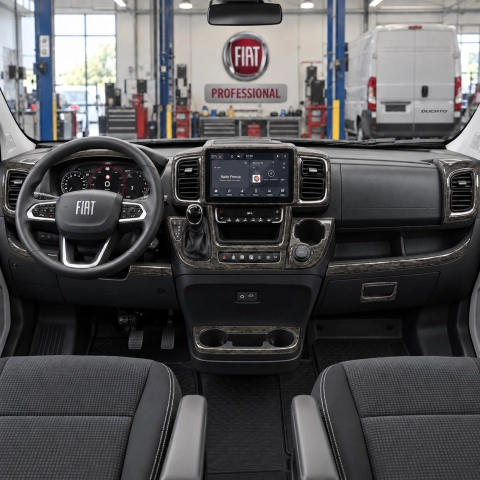
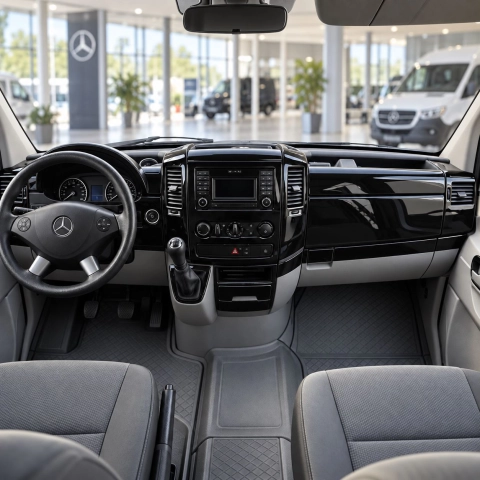
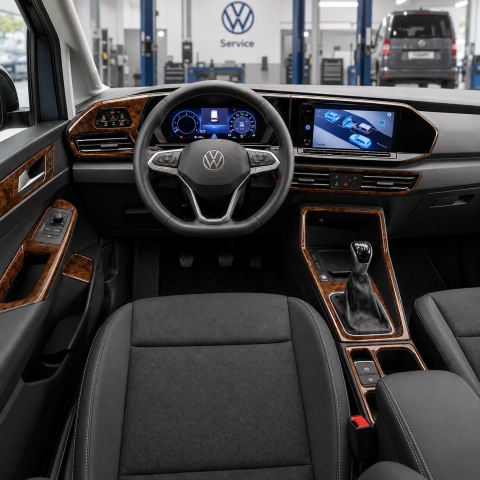
Every kit is made for one specific model. Pick your vehicle below, or browse the kits from this article further down.
VansMotorhomesVW Transporter T4 / T5 / T6Mercedes Sprinter W906Fiat DucatoVW Caddy
Useful guides: Installation guide · Material guide · How we make our templates







Comments (0)