
Shopping Cart
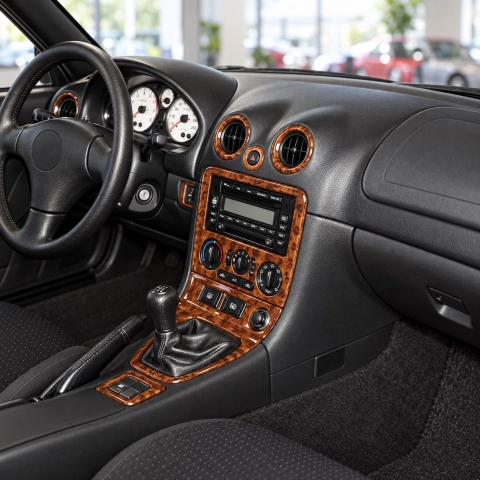
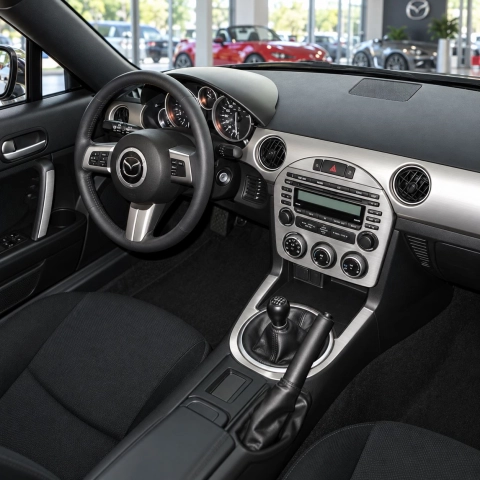
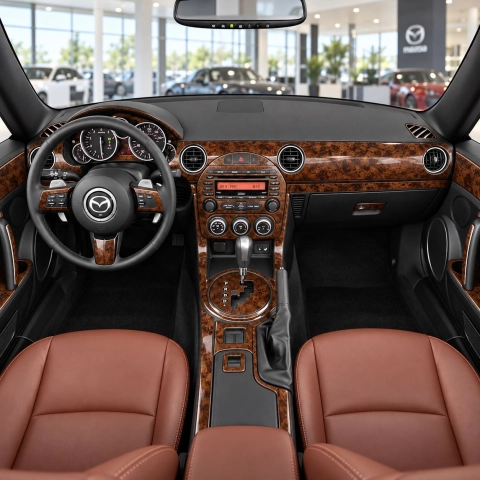
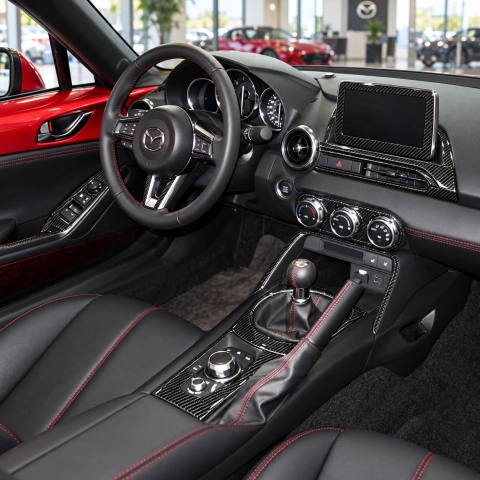
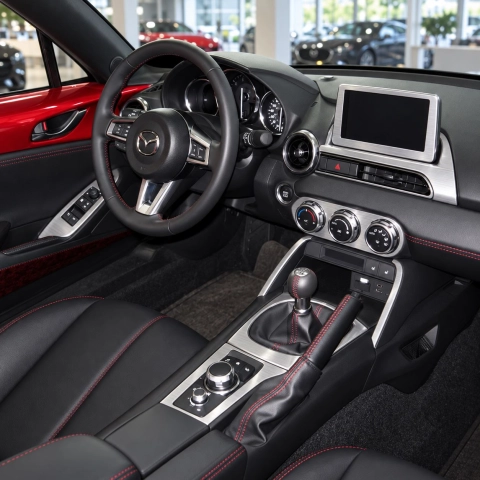
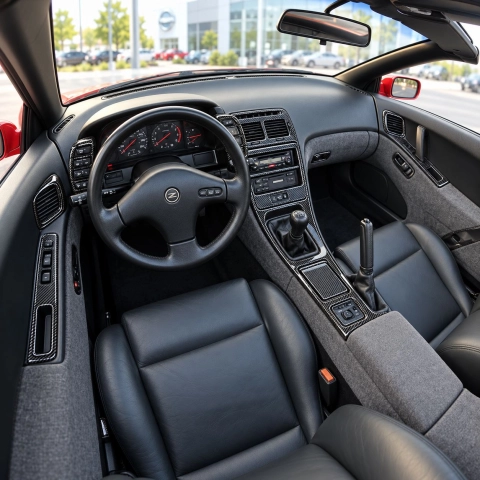
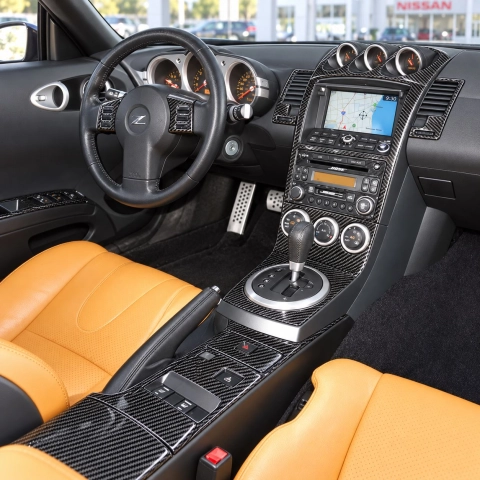
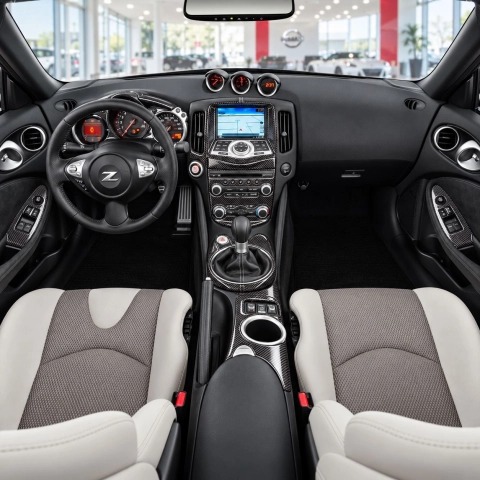
The Mazda MX-5, Nissan 350Z, 370Z, 300ZX and 240SX are drivers' cars, and their interiors deserve more than tired grey plastic. A carbon look on the dashboard, centre console and doors gives the cabin the sporty feel the car already has on the road. Our kits are made for each model, self-adhesive and flexible, so they follow rounded panels and go on without removing anything. Here is every Japanese sports car we make kits for, from the MX-5 NA to the 370Z, plus the Mazda RX-8.
Carbon look kits for MX-5, 350Z, 370Z, 300ZX, 240SX and RX-8
Pick your model and generation. Each link goes straight to the kit; on the product page you choose the carbon colour or another finish.

| Model | Kit | Parts |
|---|---|---|
| Mazda MX-5 NA · 1989–1997 | MX-5 NA trim kit | 15 pcs |
| Mazda MX-5 NB · 2000–2005 | MX-5 NB trim kit | 14 pcs |
| Mazda MX-5 NC · 2009–2015 | MX-5 NC trim kit | 40 pcs |
| Mazda MX-5 ND · 2015–2020 | MX-5 ND trim kit | 25 pcs |
| Nissan 350Z Z33 · 2003–2005 | 350Z 2003–2005 trim kit | full set |
| Nissan 350Z Z33 · 2006–2008 (automatic) | 350Z 2006–2008 trim kit | full set |
| Nissan 370Z Z34 · 2009– | 370Z trim kit | 16 pcs |
| Nissan 300ZX Z32 · 1990–1996 | 300ZX trim kit | full set |
| Nissan 240SX S13 · 1989–1994 | 240SX trim kit | full set |
| Mazda RX-8 · 2003–2007 (without navigation) | RX-8 trim kit | full set |
Every product page shows the parts diagram. Compare it with your own dashboard before ordering – equipment such as the radio, climate panel or gearbox can change the shape of some parts. Not sure which version you have? Send us a photo of your dashboard.

How our carbon look is made
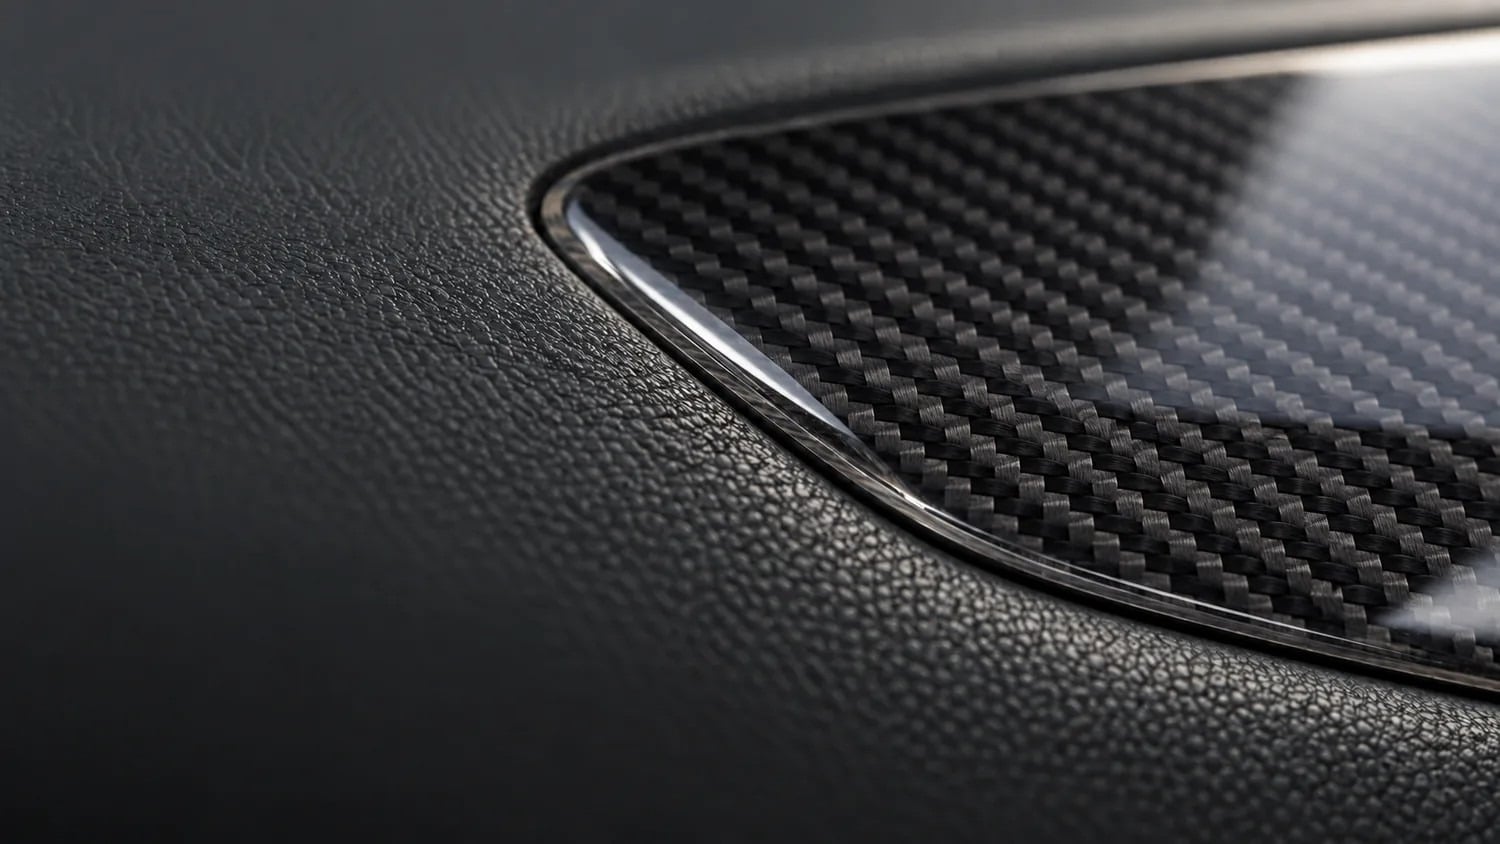
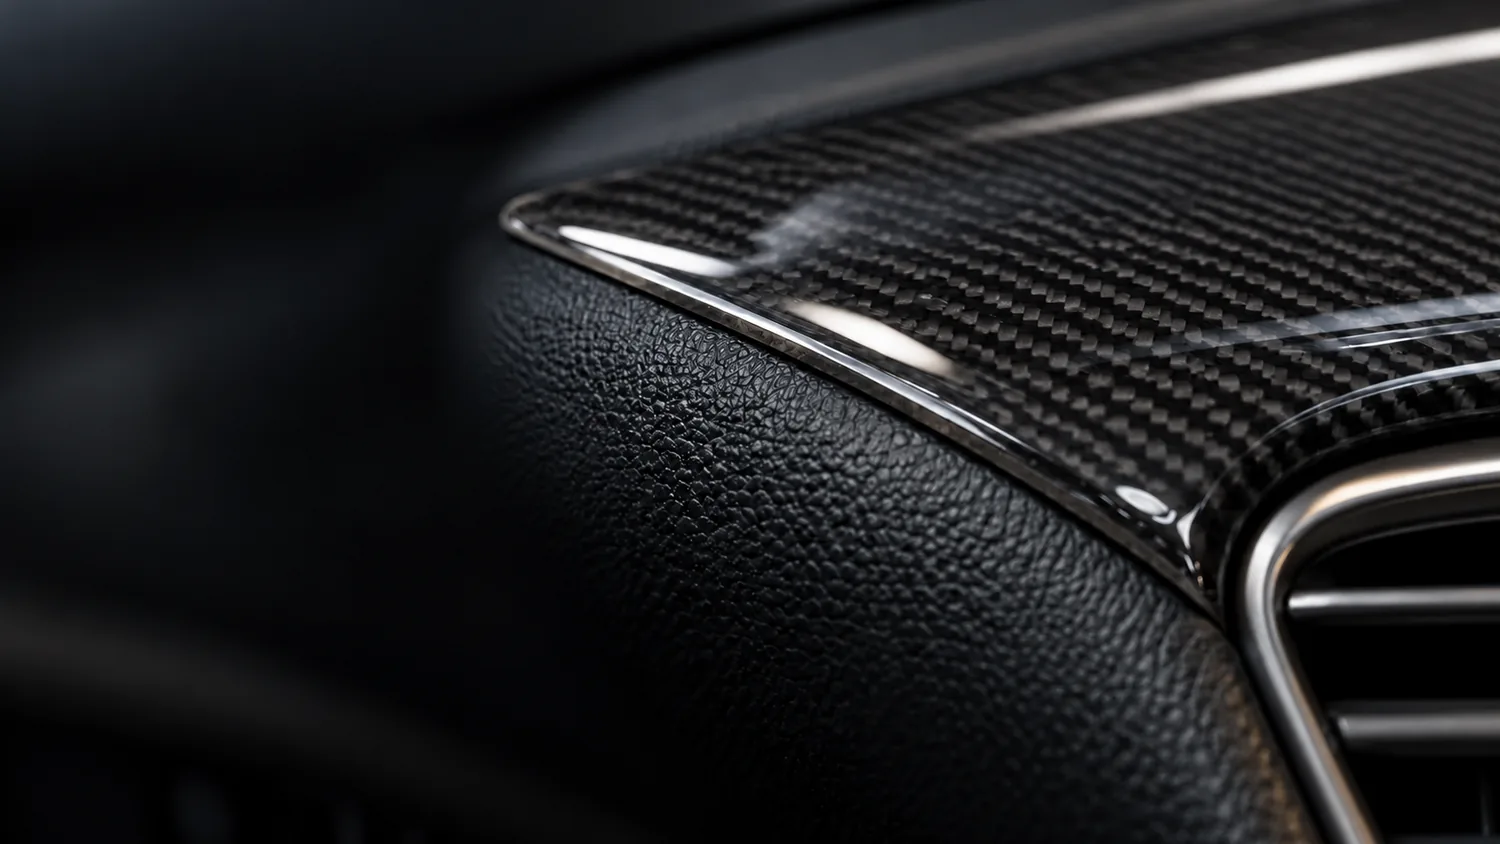
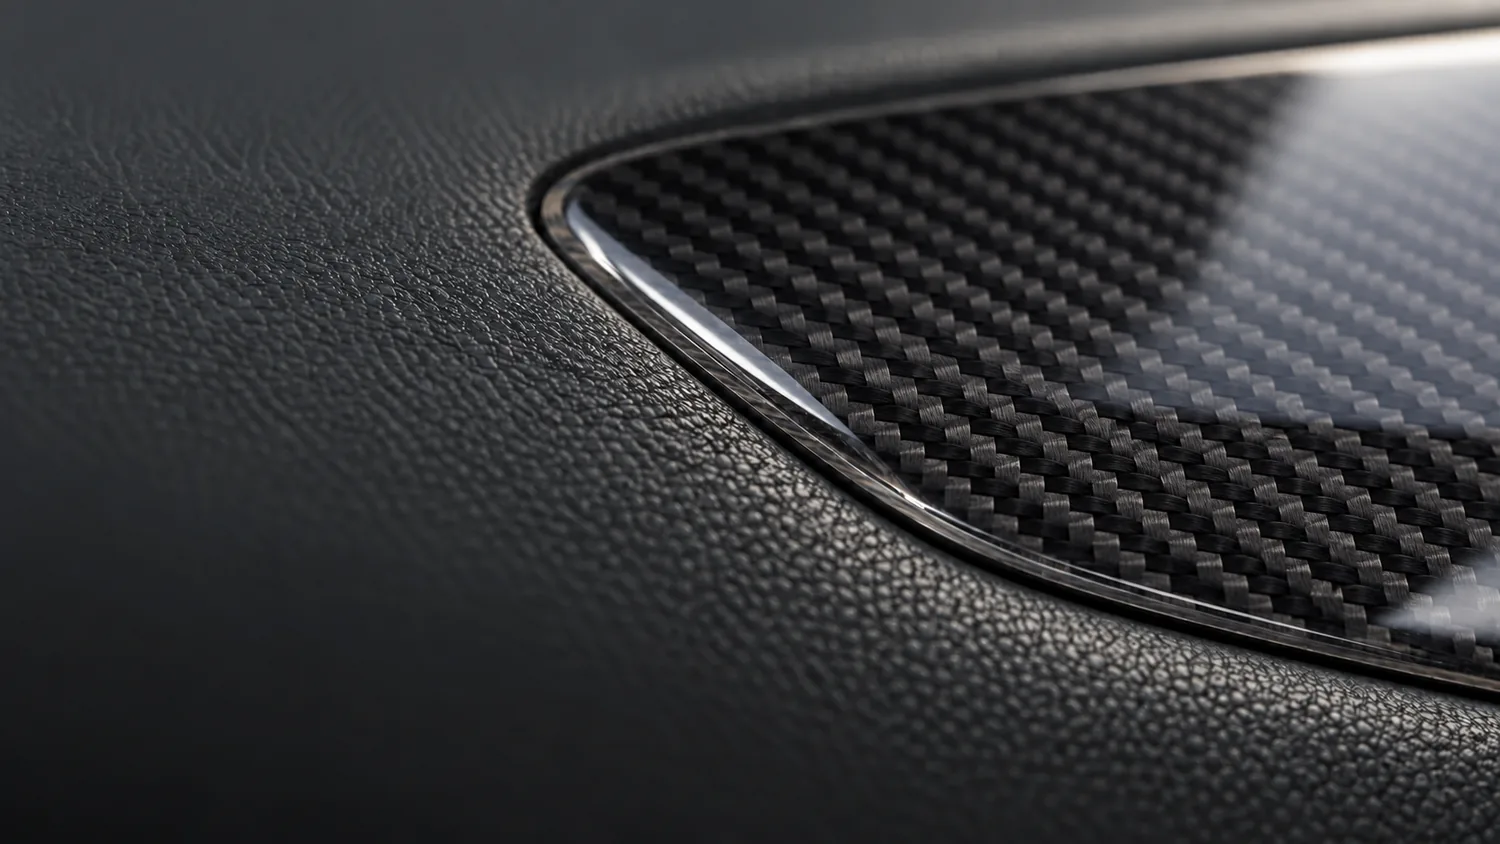
Our carbon-look trim is not cut from carbon fibre fabric. It is a sandwich built for the job of covering existing trim panels:
- 6D carbon film – a high-quality carbon-look film with a very deep weave pattern.
- 3M 468MP adhesive – an automotive-grade adhesive layer laminated to the back, made to stay put in a car interior.
- 3 mm clear polyurethane dome – poured on top by hand. It gives the weave real depth, a high gloss and soft rounded edges.
- Curing time – the polyurethane cures for about two weeks until the surface is hard and glassy.
The result is a glossy carbon look with real depth that sits on the original trim as if it had always been there – while the part itself stays flexible enough to follow rounded panels.
Carbon-look trim or real carbon fibre parts?
| Real carbon fibre parts | Our carbon-look trim | |
|---|---|---|
| Material | Carbon fibre fabric in resin | 6D carbon film under a 3 mm clear PU dome – not real carbon |
| Edges | Cut fabric edges can fray and need finishing | Smooth, rounded edges formed by the PU dome |
| Curved panels | Rigid – the part must be moulded to the shape | Flexible – follows curved trim panels |
| Fitting | Often replacement panels; trim has to come out | Stuck onto the original surfaces, nothing removed |
| Budget | Expensive | A sporty look and a different mood for a small budget |
Choose your carbon look
Every kit is made to order. Besides the classic black carbon look, you can choose blue, red or silver carbon looks – or one of our wood and aluminium looks. The kits ship high-gloss; for a matte look, spray one or two thin coats of clear matt lacquer on the parts before fitting.

Fitting: step by step
You do not need a workshop – a clean car, a free afternoon and a little patience are enough.
- Warm interior. Fit the parts at room temperature, ideally above 15 °C – cold adhesive does not bond well.
- Clean and degrease. Wipe every surface with isopropyl alcohol and let it dry. Cockpit sprays and silicone cleaners stop the adhesive from sticking.
- Dry fit first. Hold each part in place without removing the backing and compare it with the parts diagram.
- Place and press. Peel the backing, set the part with one edge first, then press it down firmly from the centre outwards.
- Press again after 24 hours. The adhesive reaches full strength after about a day; do not clean the parts with solvents in the first days.
Our fitting guide explains every step in detail.
Questions we hear often
Which MX-5 generation do I have?
The NA (1989–1997) has pop-up headlights, the NB has fixed headlights, the NC was built from 2005 to 2015 and the ND from 2015. Our NB kit covers 2000–2005 and our NC kit 2009–2015 – if your car is outside those years, check the parts diagram first.
Why are there two 350Z kits?
The 2003–2005 kit fits the early 350Z; the 2006–2008 kit is made for cars with automatic transmission. Compare the parts diagram with your centre console.
Is it real carbon fibre?
No. It is a carbon-look film under a 3 mm clear polyurethane dome. The depth and gloss come close to the look of carbon fibre, but the material is not carbon fibre.
Do I have to remove the dashboard?
No. The parts go onto the existing trim surfaces – nothing has to be dismantled.
Gloss or matte?
The kits ship high-gloss. For a matte carbon look, spray one or two thin coats of clear matt lacquer on the parts before fitting.
Browse our Mazda MX-5, 350Z and 370Z, 240SX and 300ZX and RX-7 and RX-8 categories. Questions? Contact us.
Find the trim kit for your vehicle
Every kit is made for one specific model. Pick your vehicle below, or browse the kits from this article further down.
Mazda MX-5Nissan 350Z / 370ZNissan 240SX / 300ZX
Useful guides: Installation guide · Material guide · How we make our templates





Comments (0)