
Shopping Cart
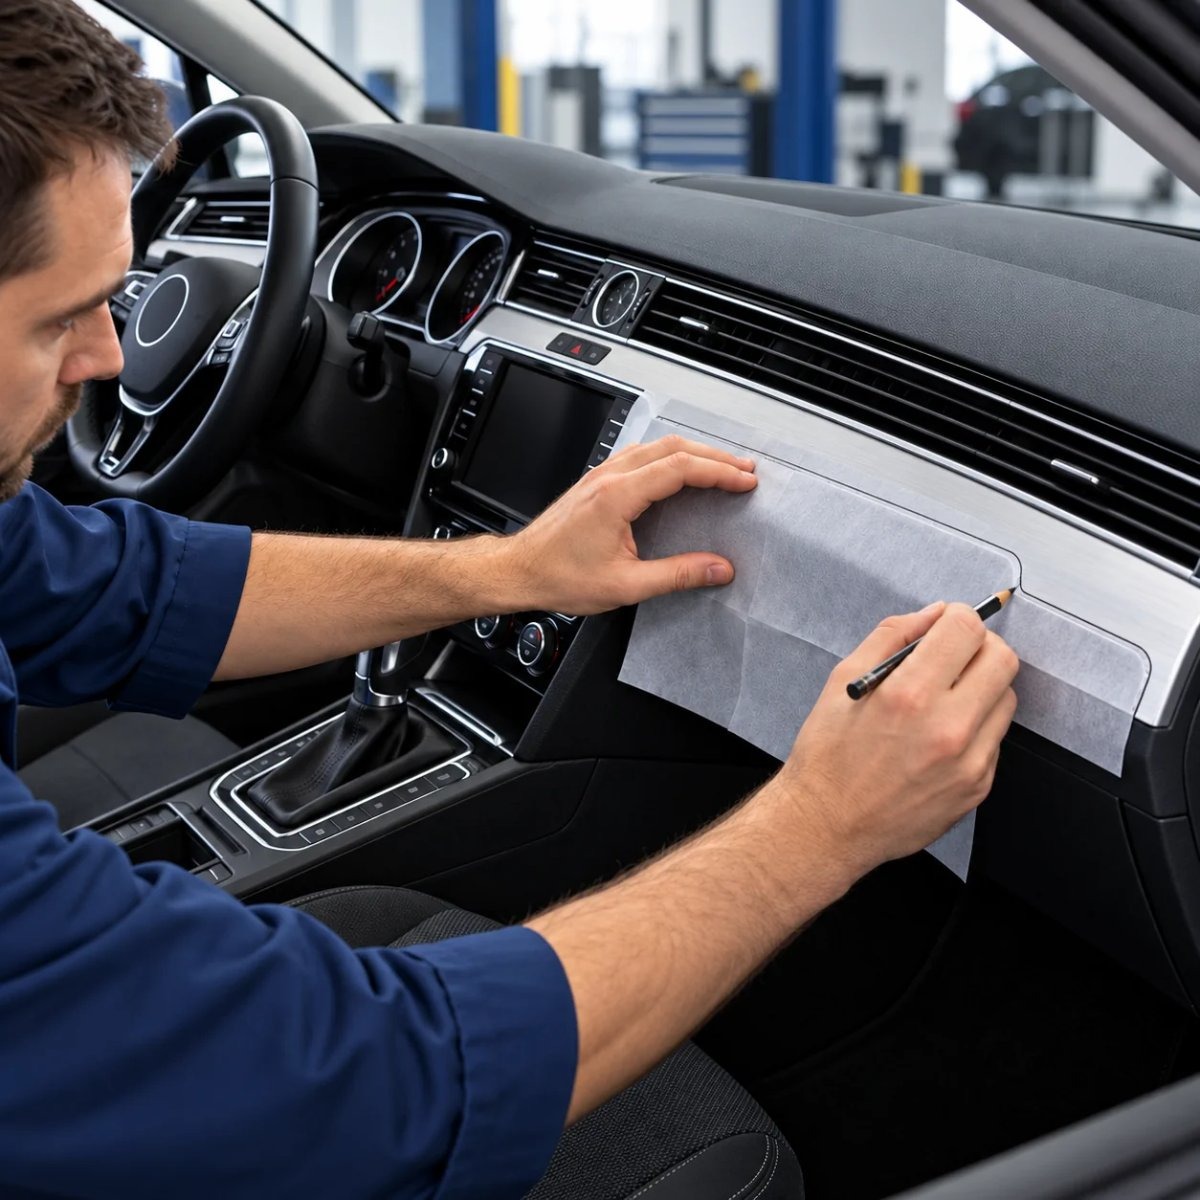
Whether you wrap trim panels with film or order a ready-cut kit, everything starts with an accurate template. We take templates from real cars for every new 3D trim kit, so here is our method – with the small details that make the difference.
What you need
- Low-tack, one-sided transfer paper. It sticks lightly to the panel and peels off without stretching, so the outline keeps its shape. Avoid ordinary film for templates: it stretches and deforms when you peel it off.
- A soft pencil with a rounded tip. A sharp point can pierce the paper; a rounded one follows the edge without tearing.
- Masking tape to join sheets for long parts.
- A digital caliper to check key dimensions.
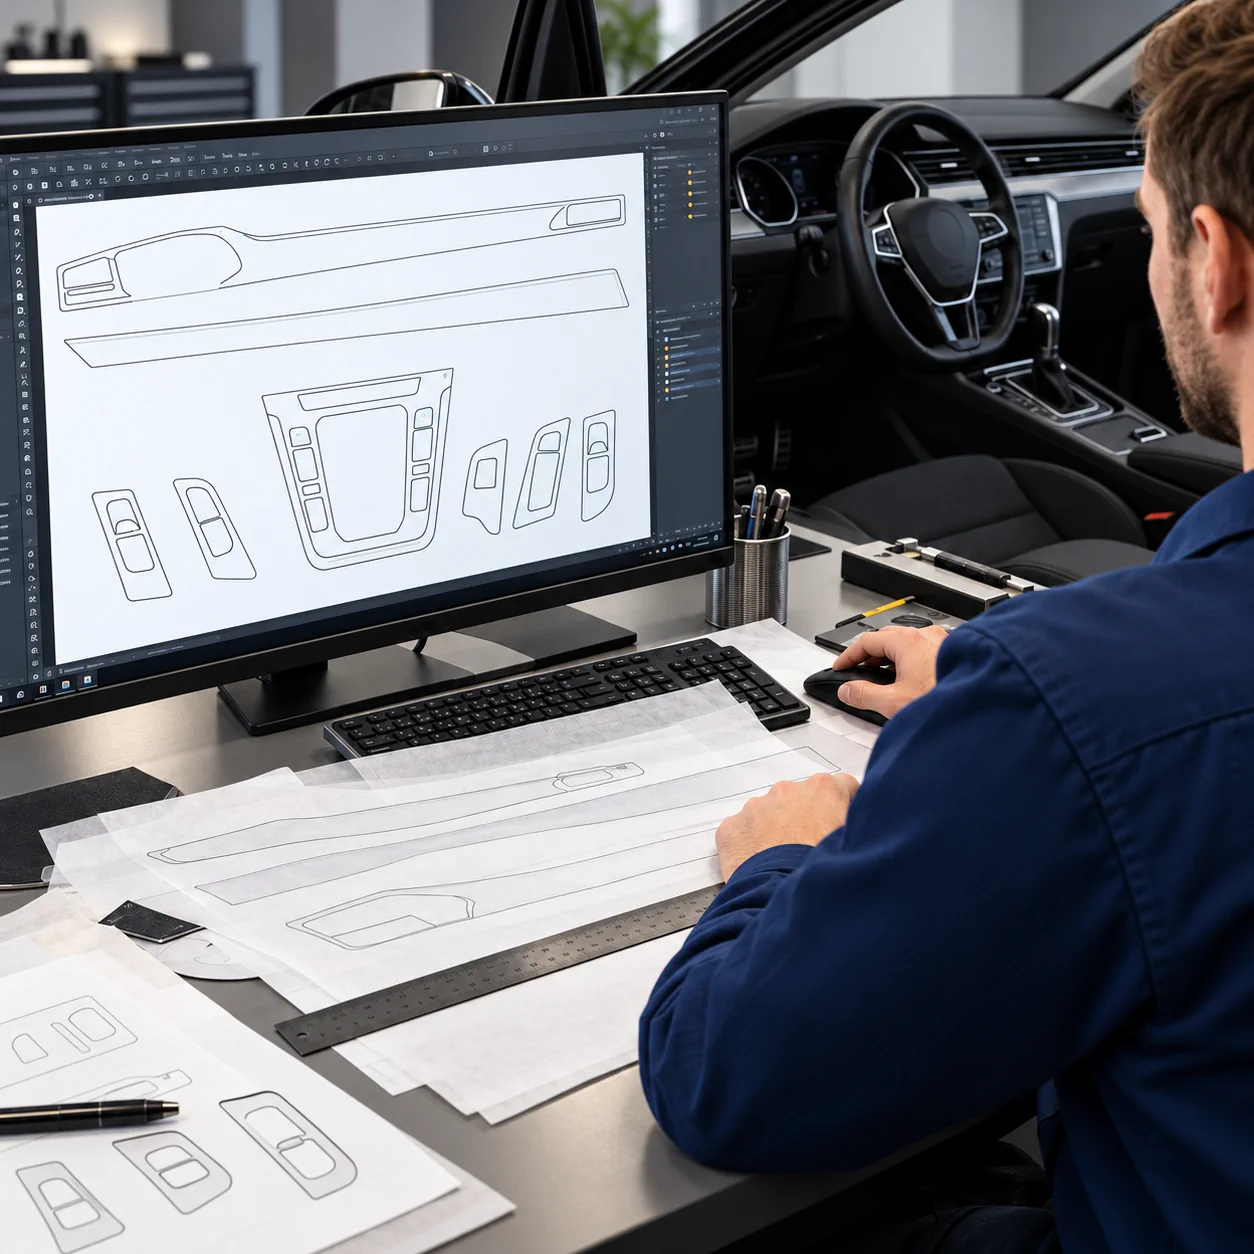
- A scanner to transfer the template to the computer at full size.
Step by step
1. Clean the panel
Remove dust and grease so the paper sticks evenly over the whole surface.
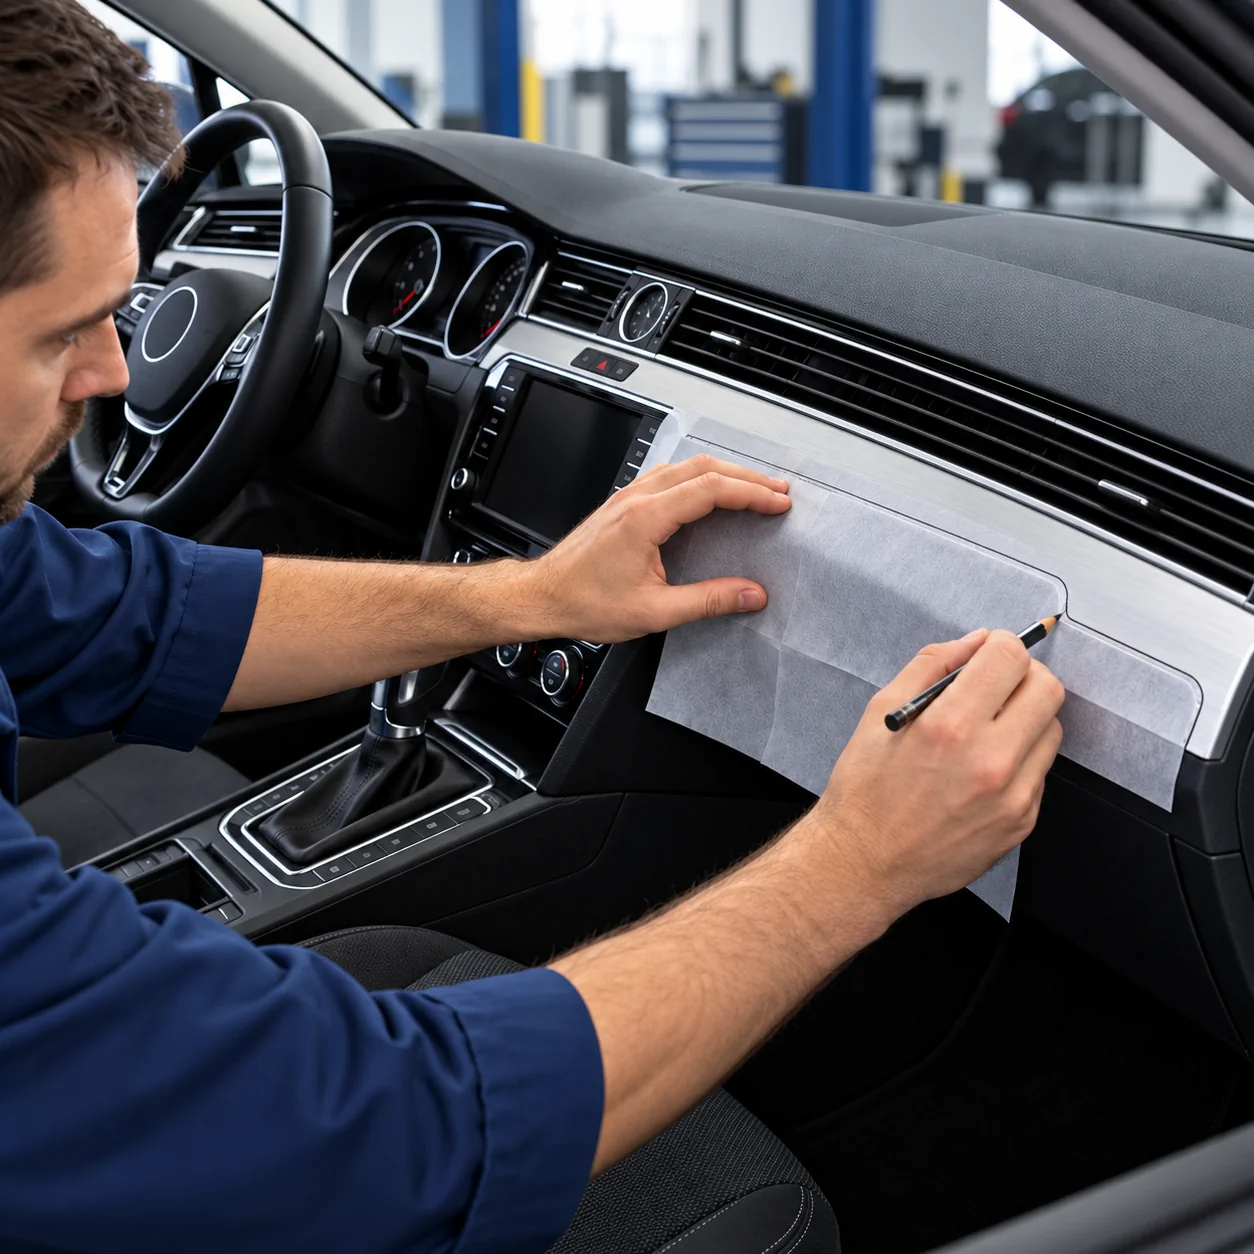
2. Apply the paper
Lay the transfer paper over the panel and smooth it from the centre outwards. Do not pull it – the template must lie flat, not stretched.
3. Trace the outline
Follow the edge of the panel with the rounded pencil and light pressure. Through the paper you can see every edge, curve and opening.
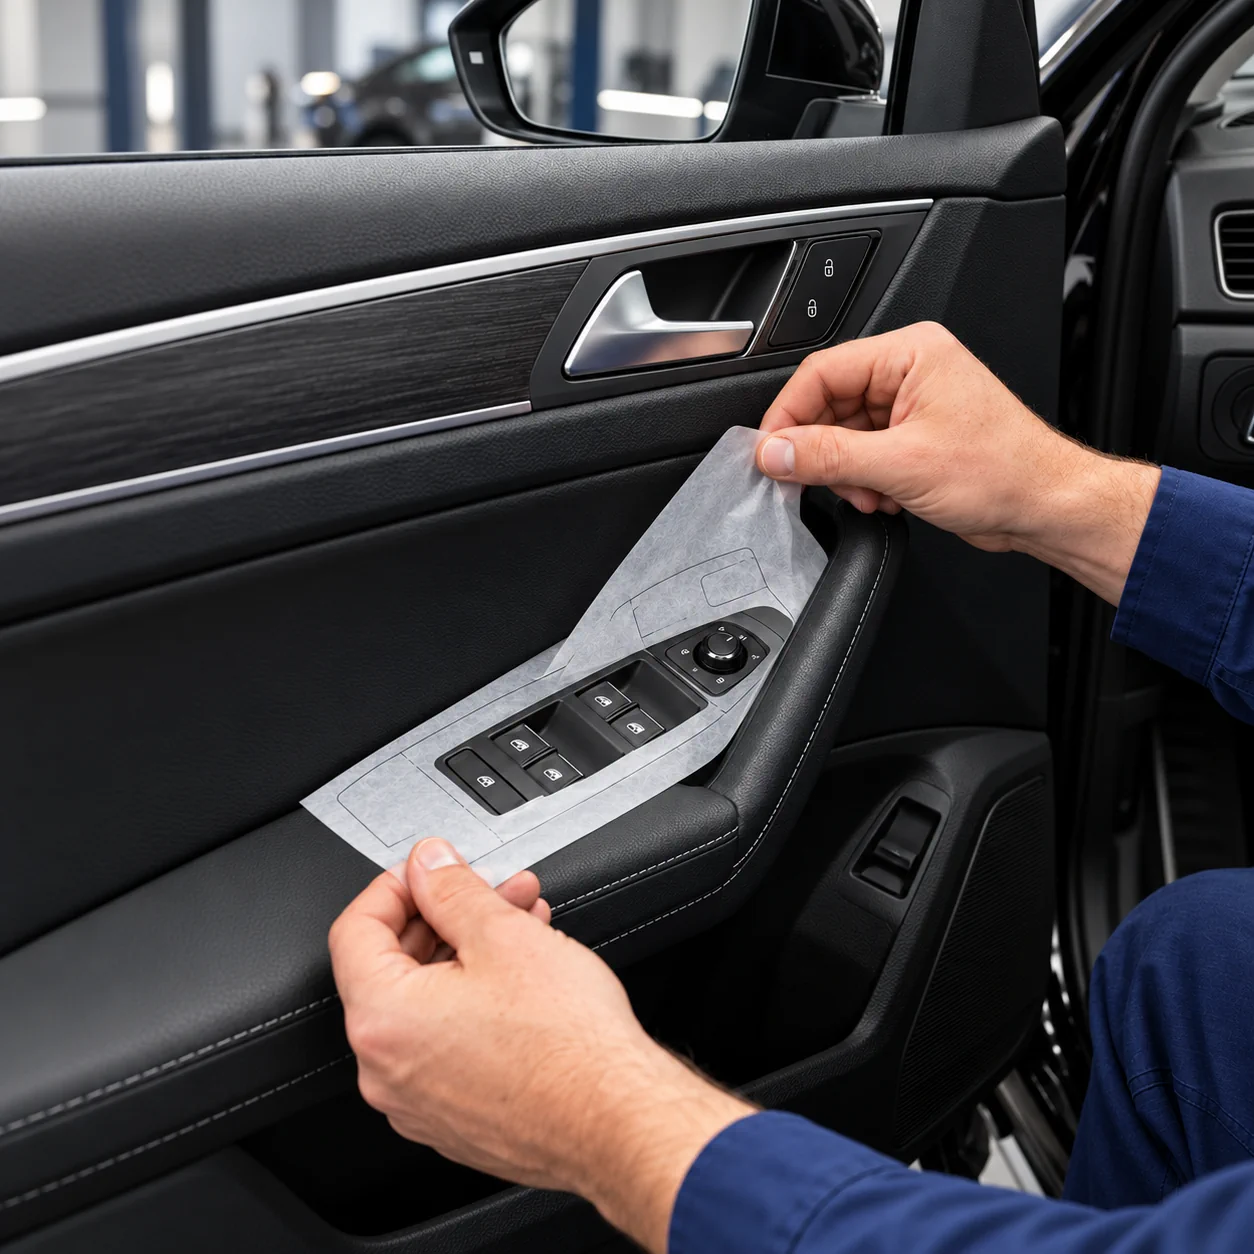
4. Mark buttons with clearance
Draw the openings for buttons and switches with about 1.5 mm of clearance, so the trim never rubs against them later.
5. Join large parts
Long dashboard strips often need several sheets. Overlap and tape them together on the car, and draw a few reference marks across the joins.
6. Peel off and check
Peel the template off slowly. Check it once more against the panel and measure key dimensions with the caliper – a template that is off by a millimetre shows on the finished part.
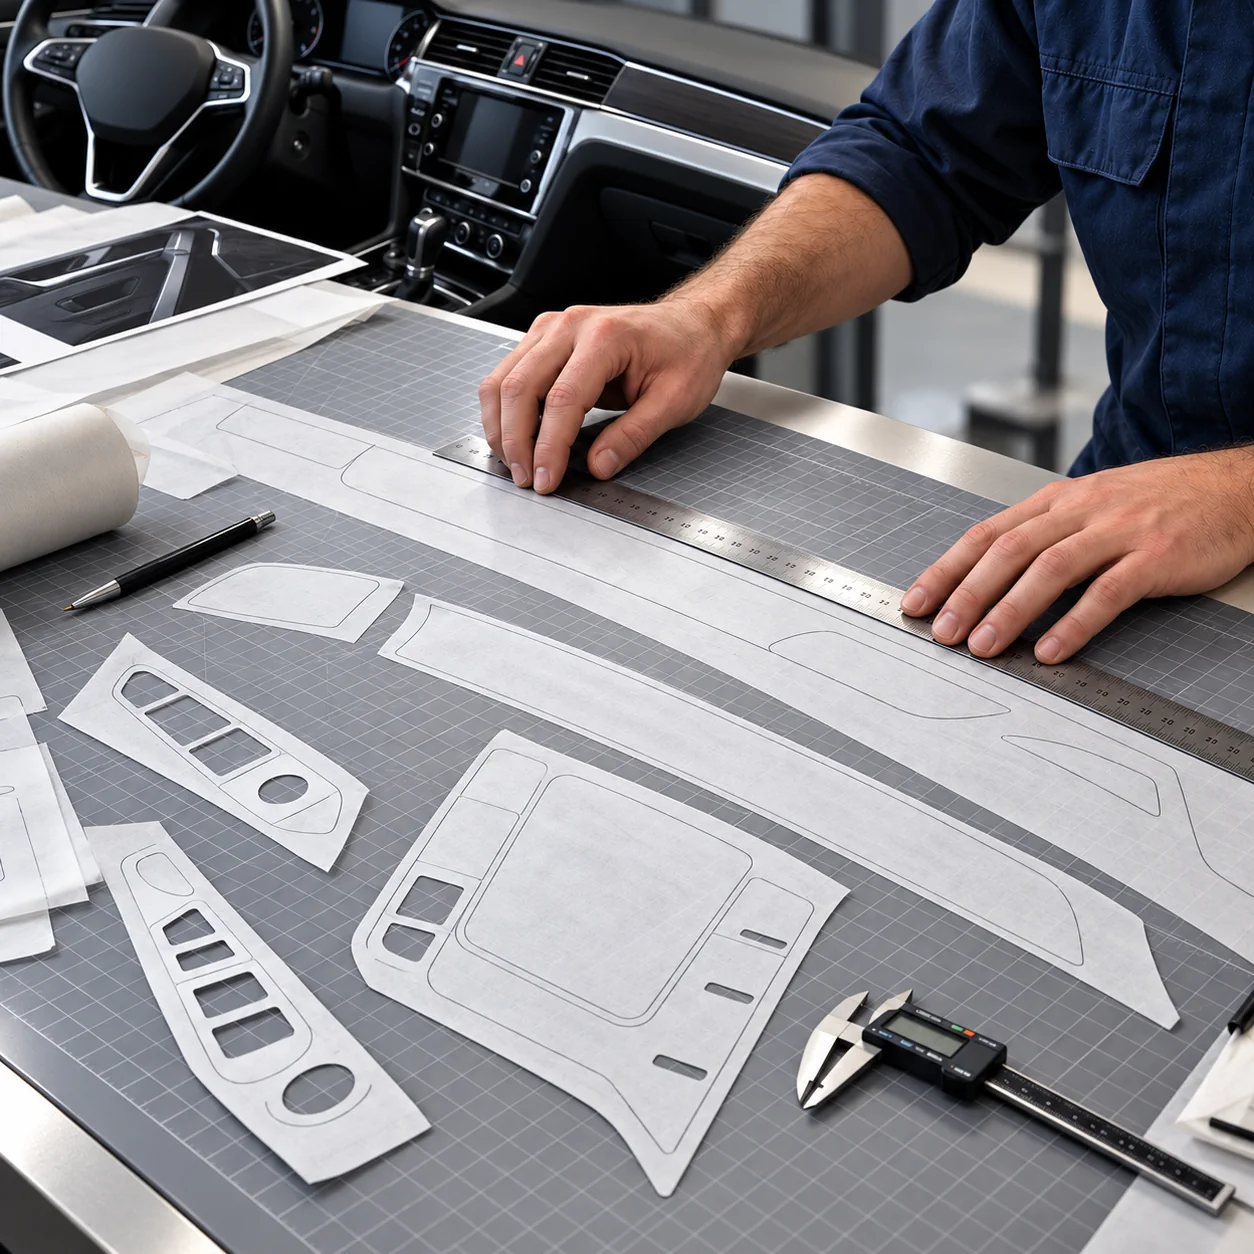
7. Transfer it to the computer
Scan the template at full size. With an A4 or A3 scanner, scan it in sections and align them using the reference marks. Avoid photos taken at an angle: they distort the shape. We now use an A0 overhead scanner that turns the template straight into vector lines with real dimensions.
Common mistakes
- Using stretchy film instead of transfer paper – the outline changes when you peel it off.
- A sharp pencil that pierces the paper and leaves ragged lines.
- No clearance around buttons – the edge catches on the switch.
- Photographing the template at an angle instead of scanning it flat.
- Cutting film with a blade directly on the car – the original surface can be scratched.
Wrap it yourself or order a ready-cut kit?
| Your own template and film | CockpitDekor kit | |
|---|---|---|
| Template | You take it yourself | Taken from the real car by us |
| Tools | Transfer paper, pencil, caliper, scanner, cutter | None – parts arrive cut to shape |
| Time | Hours of tracing, drawing and cutting | Only the application |
| Finish | The film you can find | Wood, carbon or aluminium look, or a solid colour |
If you enjoy the process and have the tools, making your own template is very satisfying. If you want a clean result without the tracing and cutting, a model-specific kit saves you that work.
FAQ
Which paper is best for a trim template?
A low-tack, one-sided transfer paper: translucent, strong and easy to peel off without stretching.
How much clearance should I leave around buttons?
About 1.5 mm is a good starting point for openings around buttons and switches.
Can I copy the template with my phone?
Only for a rough idea. Photos taken at an angle distort the shape; a flat, full-size scan is far more accurate.
What if a part is larger than my scanner?
Scan it in sections and align them using the reference marks drawn across the joins.
See how we make the templates for our kits →
Find the trim kit for your car →
Find the trim kit for your vehicle
Every kit is made for one specific model. Pick your vehicle below, or browse the kits from this article further down.
Mercedes-BenzBMWAudiVolkswagenVansMotorhomes
Useful guides: Installation guide · Material guide · How we make our templates




Comments (0)