
Shopping Cart
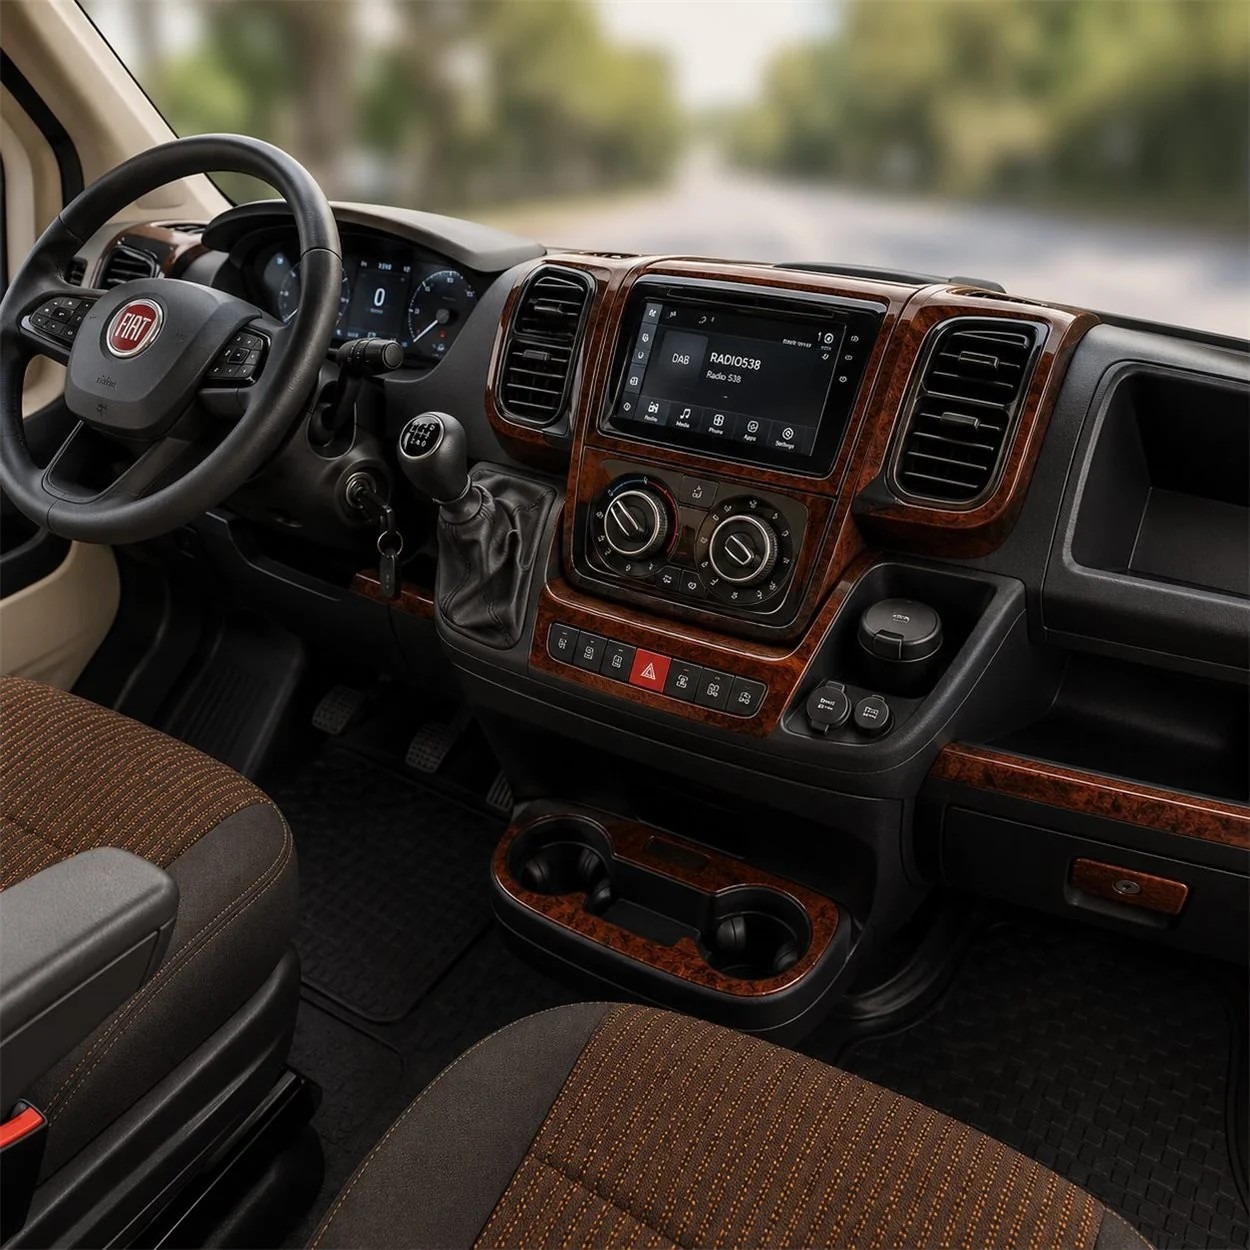
Most motorhomes on European campsites stand on a Fiat Ducato. Many of them are ten, fifteen or twenty-five years old, and they look it from the inside: a scratched grey dashboard, cupboard doors where the foil has lifted, a table edge worn down to the MDF. The engine still pulls, the layout still works, and nobody wants to spend the price of a new van on a kitchen and a cockpit. This guide shows how to give a Ducato-based camper a fresh interior in three steps: the cab, the living area and the small details outside.
1. The cab: a dashboard trim kit for your Ducato generation
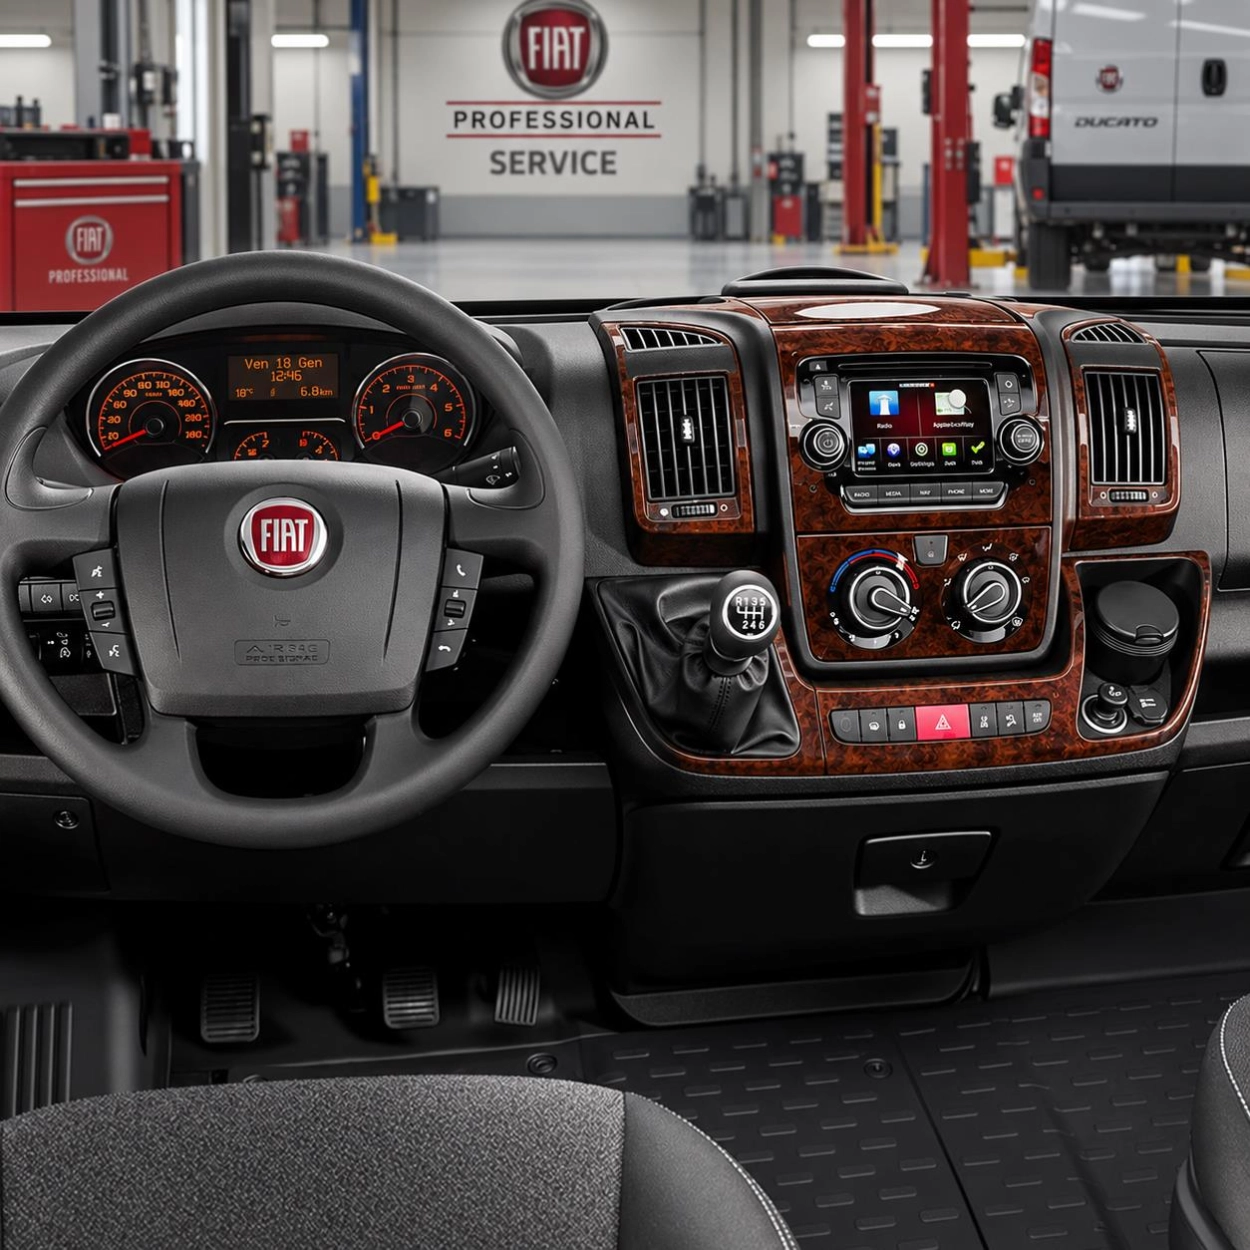
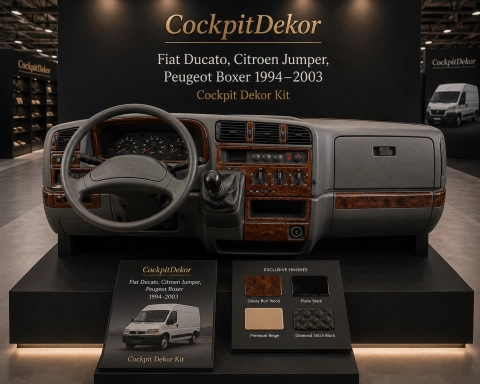
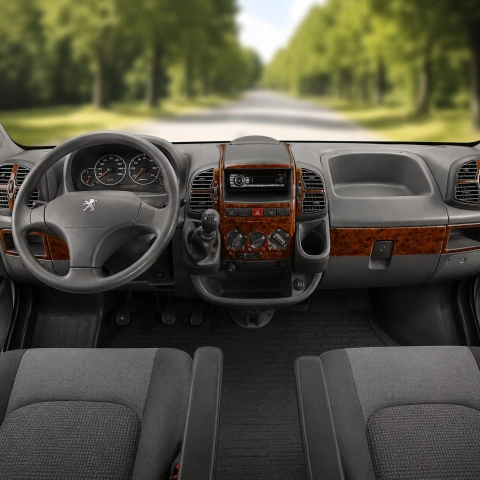
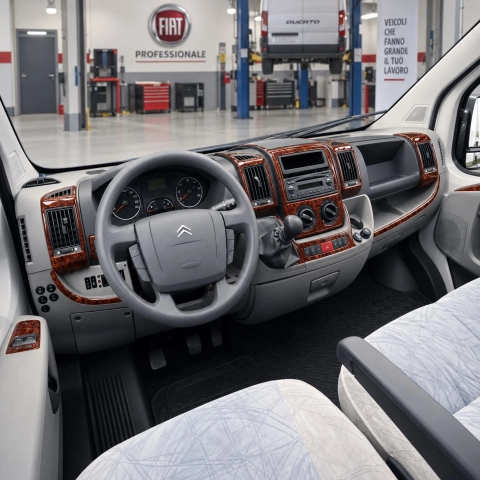
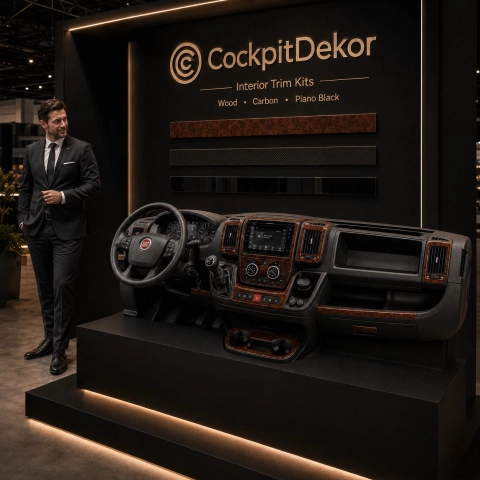
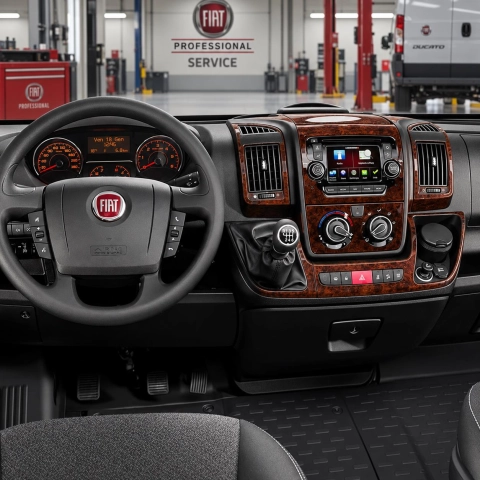
The cab is the part of the camper you look at for hours on every trip. A dashboard trim kit covers the original plastic surfaces with pre-cut 3D parts in a wood, carbon or brushed-aluminium look. Each part is cut to the parts diagram of one Ducato generation, topped with a clear PU dome about 2–3 mm thick, and stuck on with 3M adhesive. Nothing is dismantled.
| Ducato generation | Kit | Parts |
|---|---|---|
| Typ 230 (1994–2002) | Fiat Ducato Typ 230 1994–2002 | 32 |
| Typ 244 (2002–2006) | Fiat Ducato Typ 244 2002–2006 | 15 |
| X250 (2006–2014) | X250, 20 parts · X250, 23 parts | 20 / 23 |
| X290 (2014–2021) | Fiat Ducato X290 2014 | 25 |
| X290 facelift (2022–2025) | 22 parts · 27 parts · 6 door parts | 22 / 27 / 6 |
| 2026 and newer | Fiat Ducato 2026+ | 22 |
Before ordering, put the parts diagram next to your own dashboard: radio, climate panel and gear lever area differ between versions. The same kits fit the Peugeot Boxer and Citroën Relay/Jumper of the same generation. Not sure? Send us a photo of your dashboard.
2. The living area: restoring worn MDF and plywood panels
Camper furniture is usually MDF or lightweight plywood covered with a printed decor foil. After years of damp air, sun through the skylight and people sliding past, that foil peels at the edges, gets scratched around handles or fades unevenly. Replacing the furniture is expensive. Covering the damaged surfaces with a new wood-effect film costs a fraction and takes a weekend.
There are two practical ways to do it:
- Our wood texture as a print file. The same wood patterns we print on our dashboard kits – Walnut Burl, Dark Mahogany, Ebony Zebra, Birdseye Maple and more – are available as a downloadable ZIP of print-ready, seamless texture files (6–12 MB each). Seamless means the pattern repeats without visible joins: your local print shop's RIP software tiles it across any panel size, from a single cupboard door to a whole kitchen front. Ask them to print it on self-adhesive vinyl on their wide-format printer, ideally with a protective laminate on top. The files are licensed for your own vehicle and may not be resold.
- Ready-made wood-effect adhesive film. If you prefer a roll from the shelf, wood-effect films such as d-c-fix from DIY stores (for example Bauhaus) work well for doors and side panels. The choice of decors is smaller, but you can start the same afternoon.
How to get a clean result
- Check the base first. Film hides scratches and faded decor, not swollen or crumbling MDF. Panels that have absorbed water must be dried, filled or replaced before covering.
- Remove loose foil and sand the edges flat. Any step under the film will show through.
- Clean and degrease. Use isopropyl alcohol or a degreaser; let it dry completely.
- Take doors off where you can. Working flat on a table is far easier than overhead in the van.
- Apply from the centre outwards with a felt squeegee, wrap the film around the edges by 1–2 cm and warm it gently with a hair dryer so it follows curves.
- Trim with a sharp knife and press all edges again after 24 hours.
Keep film away from direct heat: around the hob, the oven and the heater outlet use a heat-resistant material instead.
3. One wood, from the cab to the kitchen
Here is where a restoration becomes a real upgrade. If the dashboard kit and the furniture film use the same wood texture, the cab stops looking like a separate van bolted onto a caravan. Walnut on the dashboard, walnut on the overhead lockers and the table: the whole interior reads as one modern design. Choose the finish of your dashboard kit first, then order the matching texture file for the living area.

Prefer something lighter? A pale wood in the living area combined with carbon-look or brushed-aluminium trim in the cab also works well, especially in modern campers with grey upholstery.
4. The details: wheel caps, emblems and labels
Small parts make an older motorhome look cared for. In our camper and caravan accessories you will find:
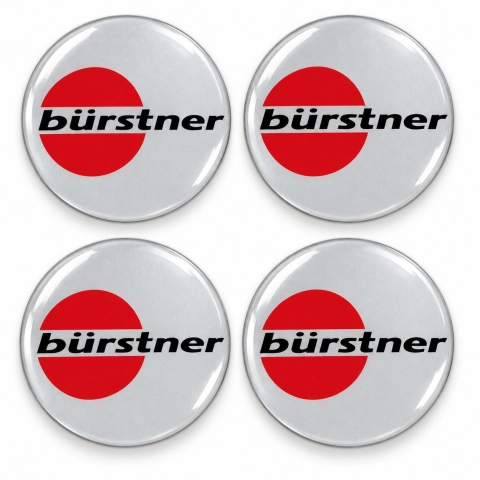
- Domed wheel centre cap stickers with the logos of Knaus, Hymer, Dethleffs, Bürstner, Adria, Pössl, Carthago, Hobby and many more motorhome brands. They go onto your existing caps; the caps themselves are not included.
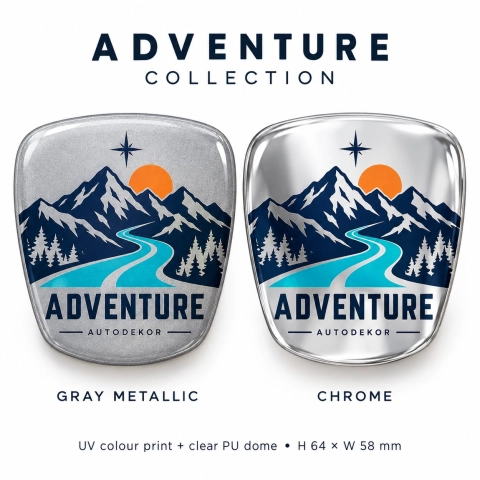
- Grille emblem inserts for the front, in grey metallic or chrome foil.
- 3D domed equipment labels in sets of 12, 24 or 48 pieces (60 × 60 mm), to mark water, gas, toilet, shower and other equipment in one consistent style. They do not replace mandatory safety markings.
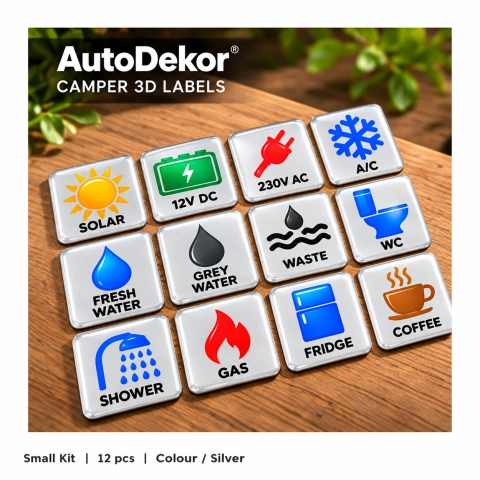
Exterior branding is in preparation: new domed logos for wheels and bodywork will join the range soon.
Fiat Ducato camper interior: questions we hear often
Is the wood real?
No. Both the dashboard kits and the texture file are a printed wood effect. On the dashboard kits it sits under a clear PU dome that gives depth and soft edges.
Do I have to remove the dashboard?
No. The parts go onto the existing, suitable surfaces.
Will the film hold in a humid camper?
On a clean, dry, sound surface, yes. Ventilate the van while working and avoid areas that stay wet or get hot.
Can my print shop really print the texture?
Any shop with a wide-format printer for self-adhesive vinyl can do it. The files are seamless, so the shop's RIP software repeats the pattern to any length. Ask for a protective laminate (matte or gloss) for kitchen and table surfaces.
Will the furniture match my dashboard kit?
Yes, if you choose the same pattern name: the texture files are the same wood patterns we print on our dashboard kits. Colours can vary slightly between printers and films, so ask your print shop for a small test print first.
Can I use the texture files commercially?
The files are for restoring and personalising your own vehicle. Reselling or sharing them is not permitted.
Gloss or matte?
Dashboard kits ship high-gloss. For a matte look, spray one thin coat of clear matt lacquer on the parts before fitting.
Start with your Ducato generation: all Fiat Ducato dashboard trim kits · camper stickers and accessories · fitting guide. Questions? Send us a photo of your dashboard.
Find the trim kit for your vehicle
Every kit is made for one specific model. Pick your vehicle below, or browse the kits from this article further down.
Useful guides: Installation guide · Material guide · How we make our templates






Comments (0)