
Shopping Cart

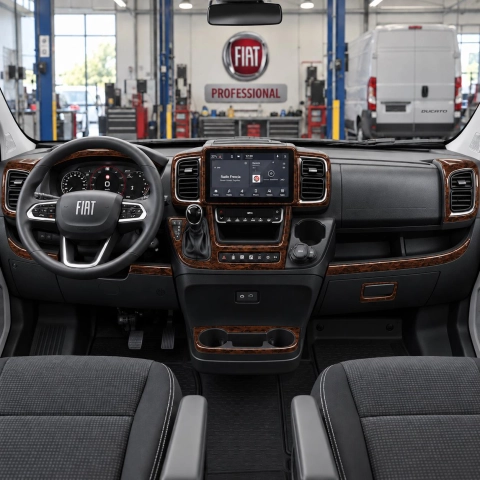
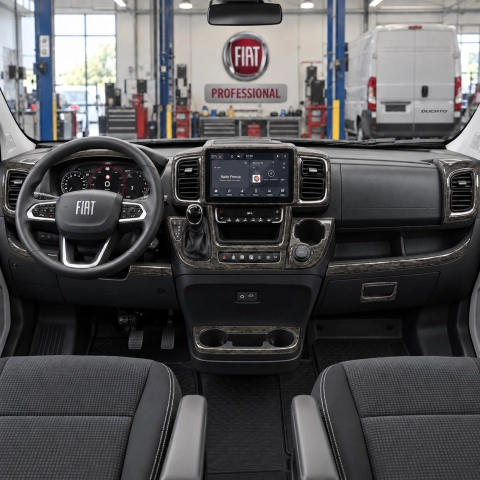
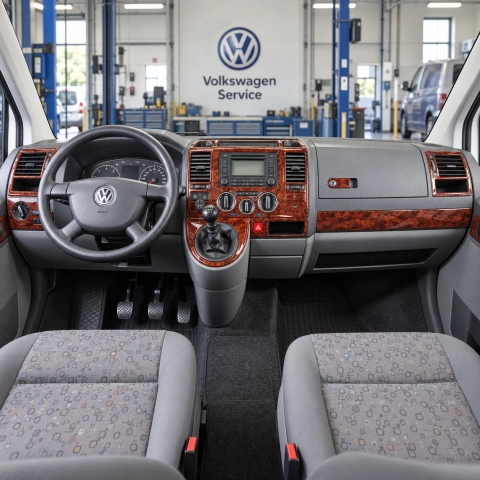
In a campervan or motorhome the cockpit is part of the living space. You see it every day of the trip, it gets direct sun through a large windscreen, and in older vehicles the plastics are often scratched or faded long before the rest of the interior. Replacing dashboard panels is expensive and, for many base vehicles, hard to source. A vehicle-specific trim kit takes a different route: it covers the existing panels with new decor parts cut to their exact shape, so the cockpit looks fresh without removing anything.
Why camper cockpits look tired so quickly
Most campers and motorhomes are built on light commercial vehicles. Their dashboards were designed to be practical, not decorative, and years of sunlight, keys, phones and cleaning products leave marks. Converted vans often have a beautifully finished living area behind a cockpit that still looks like a work van – that contrast is what most owners want to remove.
Which base vehicles we make kits for
Kits are made for the base vehicle, not for the camper brand, so start with the chassis your camper is built on:
- Fiat Ducato, Citroën Jumper / Relay and Peugeot Boxer – the most common motorhome bases
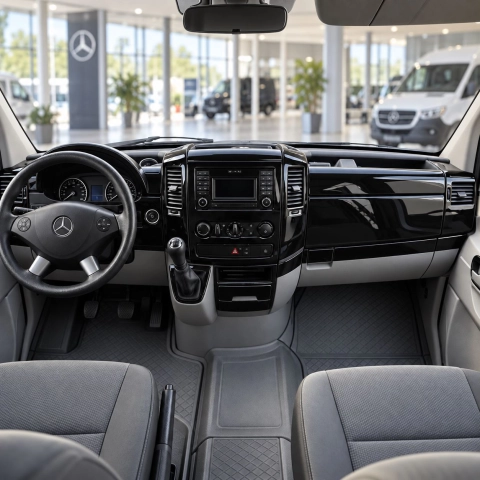
- Mercedes Sprinter W906 and Mercedes Sprinter W907
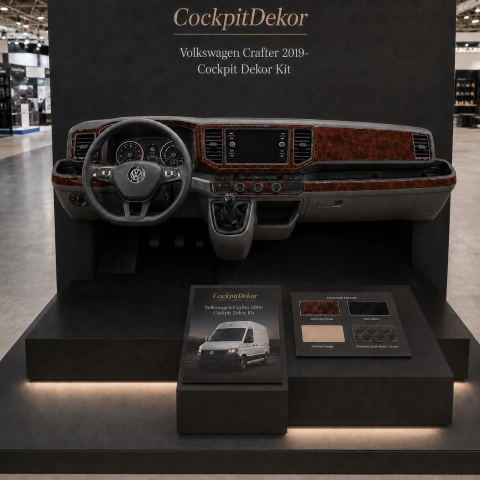
- VW Transporter T4 / T5 / T6 and VW California
- Iveco Daily, Ford Transit and Renault Master
You will find all of them under motorhomes and campers and vans. If your base vehicle is not listed, send us photos of the dashboard.
Choosing a finish for life on the road
Think about how the cockpit will be used. Warm wood looks make the cockpit feel like part of the living area and suit classic and wood-heavy camper interiors. Dark finishes such as carbon look or piano black suit modern vans with grey or black furniture. A colour matched to the furniture fronts or upholstery ties the whole interior together.
Kits are delivered with a glossy surface. If you travel a lot in strong sun and prefer fewer reflections, spray one or two coats of clear matt lacquer on the parts before fitting them.
Before and after: getting a clean result
- Take “before” photos of the dashboard in daylight – they help you compare finishes and are useful if you ever sell the vehicle.
- Repair loose clips and rattles before fitting; the kit covers surfaces, it does not fix broken parts.
- Clean and degrease thoroughly – cockpit plastics in campers often carry years of care products.
- Fit in the shade at a comfortable temperature, not in full sun on a hot dashboard or in a cold garage in winter.
Checklist before you order
- Identify the base vehicle, its generation and the year of manufacture.
- Choose left- or right-hand drive.
- Compare the parts diagram on the product page with your dashboard, especially around the radio and climate controls.
- Decide on gloss or matt (matt = add clear matt lacquer yourself before fitting).
- Read the installation guide before you start.
FAQ
Do I need to remove the dashboard?
No. The parts are self-adhesive and go on top of the existing panels, which stay in place.
Is the finish real wood or real carbon?
No. The parts are printed decors protected by a clear, high-gloss PU dome. They change the look without being real veneer or real carbon.
My camper is built on a chassis that is not listed. What can I do?
Send us the base vehicle, year and photos of the dashboard – we add new models regularly.
Find the trim kit for your vehicle
Every kit is made for one specific model. Pick your vehicle below, or browse the kits from this article further down.
MotorhomesFiat DucatoMercedes Sprinter W906VW Transporter T4 / T5 / T6VW CaliforniaVans
Useful guides: Installation guide · Material guide · How we make our templates








Comments (0)